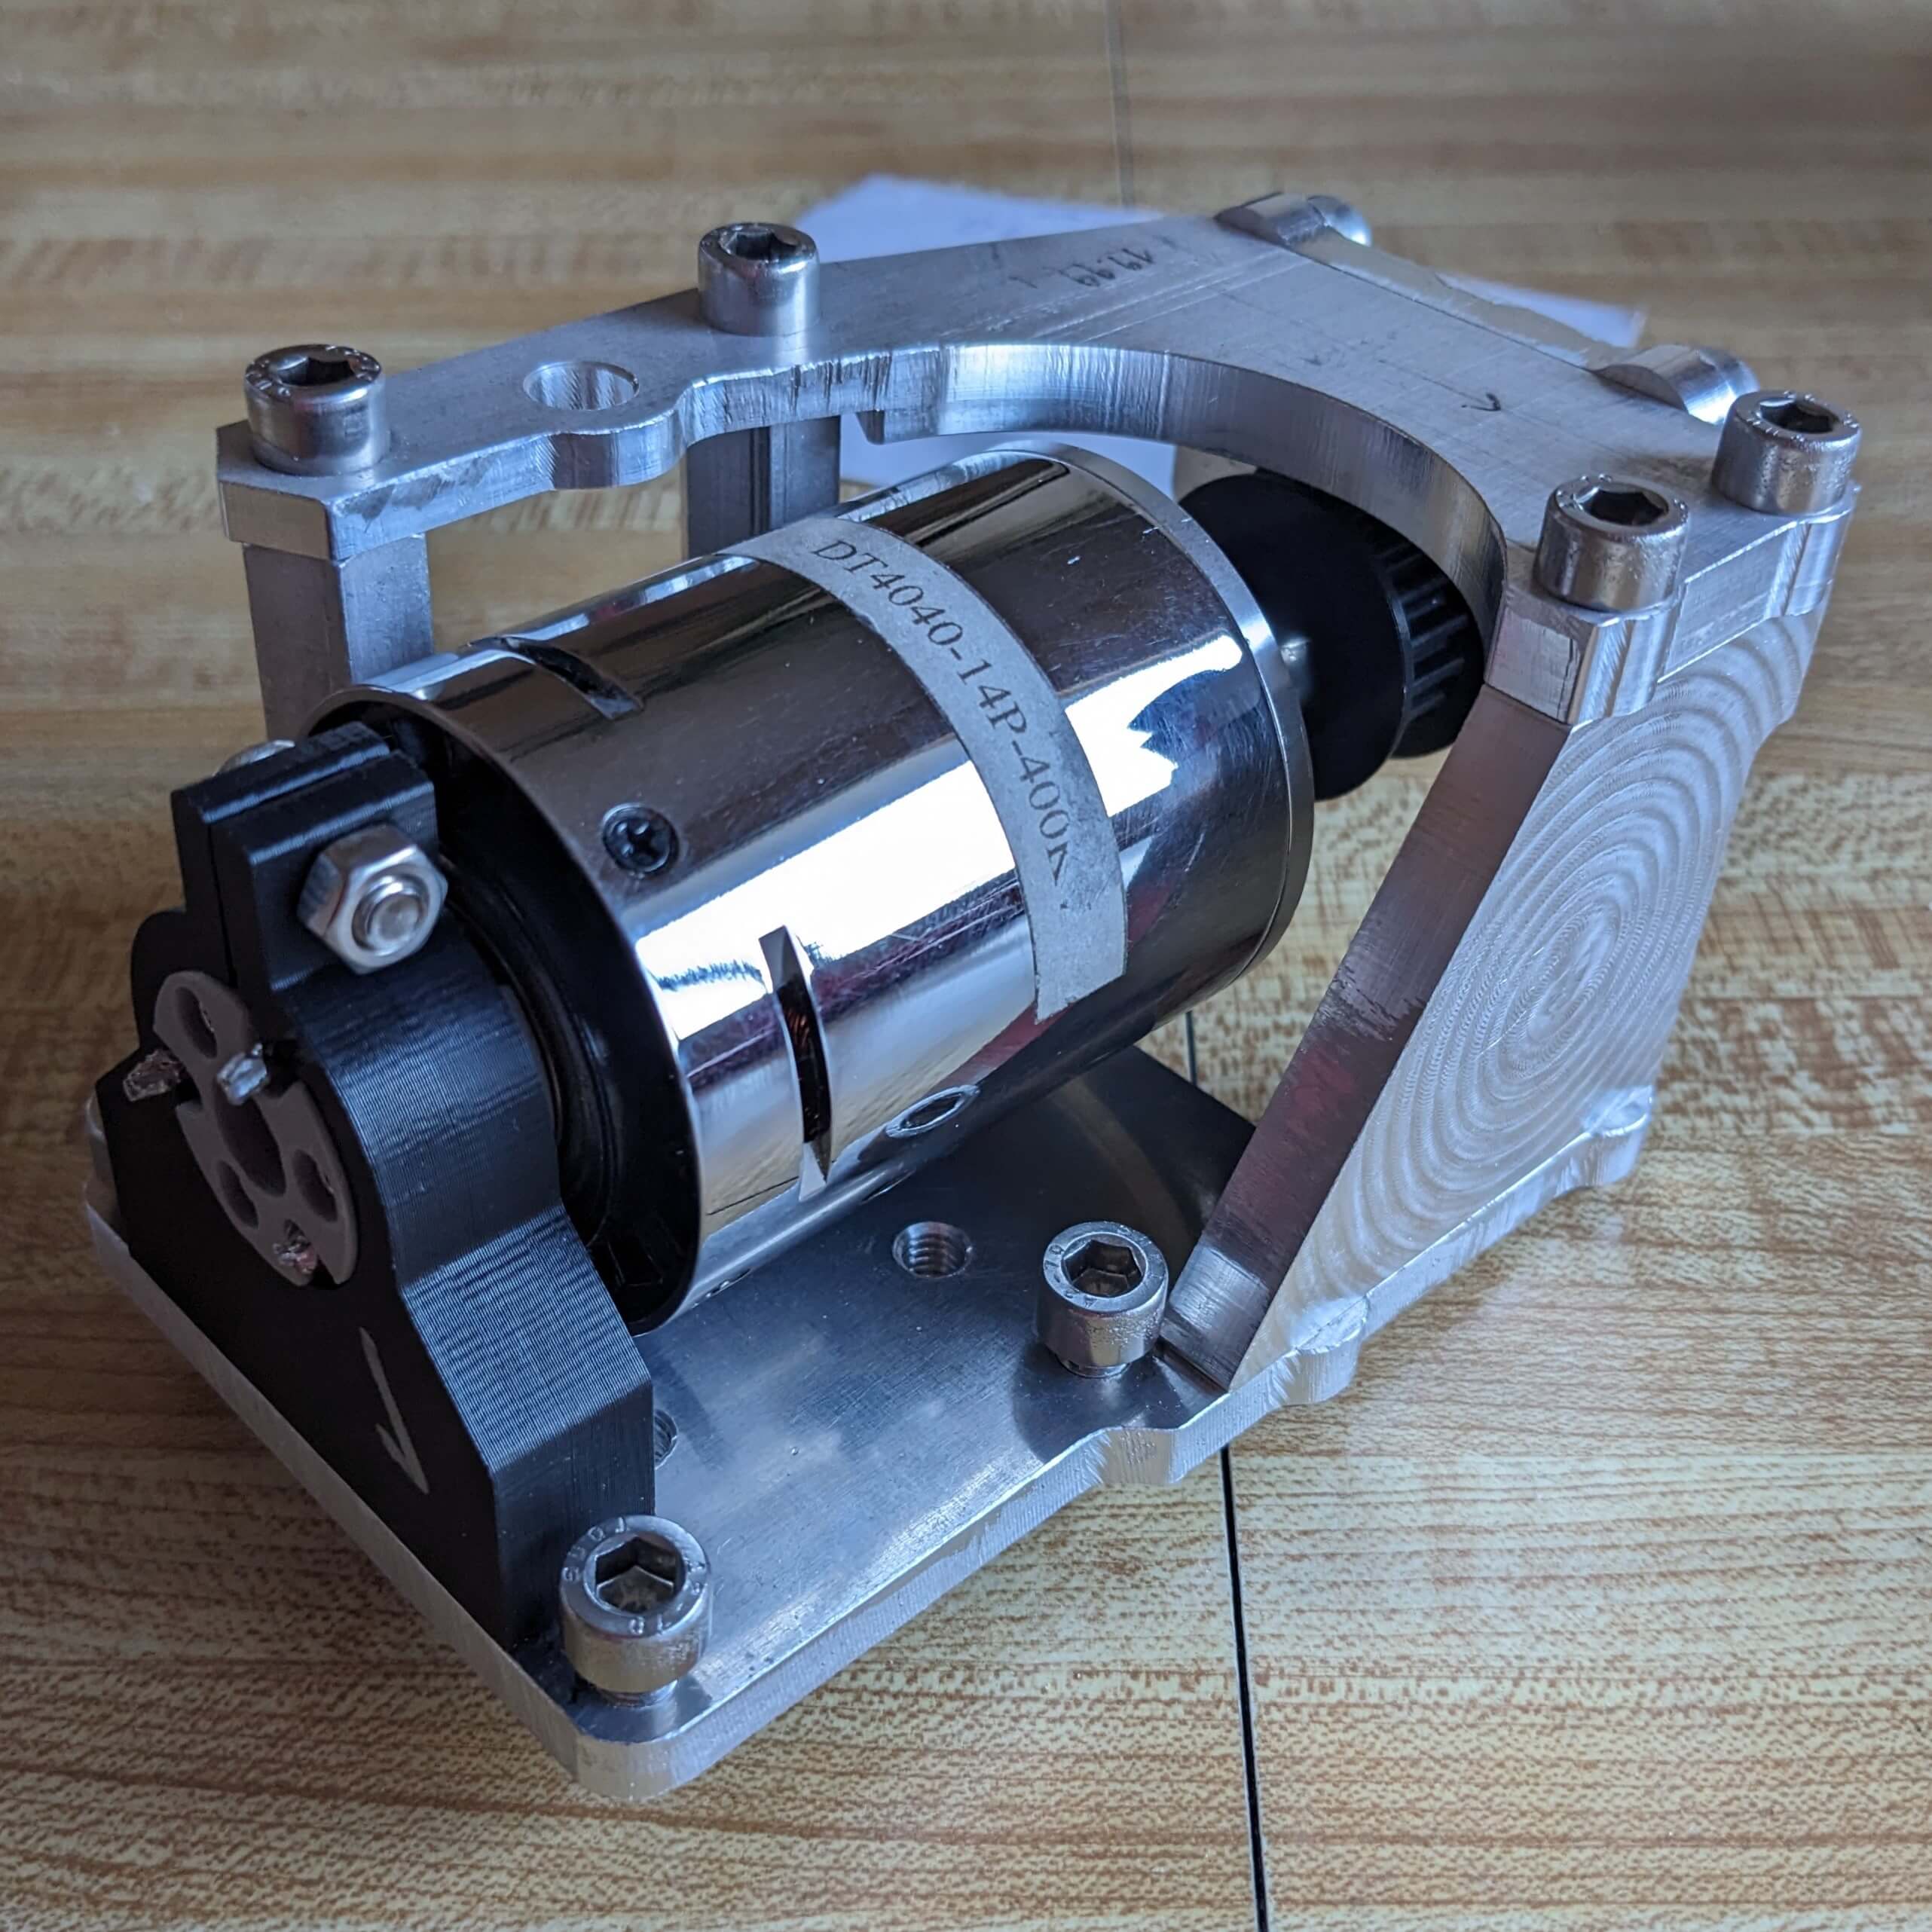
After using my cheap import SEIG mini-lathe for a couple of projects, the original motor driver circuit eventually failed. There was also a mechanical failure, as the plastic drive pulley sheared off from the motor output shaft.
Many people online have upgraded their lathes by replacing the stock brushed motor with a large brushless motor, or even industrial servomotor. I didn't have easy access to any industrial servos, so I opted to repair my lathe by upgrading it with a BLDC motor. When installing a BLDC upgrade, most people use a VESC, or even a regular hobby-grade ESC for speed control. I was never happy with this solution however, because these motor controllers cannot provide very good low-end torque.
Low-end torque is important for a lathe; it is often necessary to turn work pieces at very low speed and with high torque during parting or threading operations. Without employing a large reduction ratio, VESCs and ESCs cannot offer this low-end torque because they control the motor by sensing its back EMF. For these controllers to work, they require the motor be spinning fast enough to already generate measurable back EMF - at which point the lathe spindle is also spinning very quickly. A better solution is to use a powerful field-oriented control driver, like the ODrive S1.
By attaching an encoder to the shaft of the motor, the ODrive operates with closed-loop control. It can measure the position of the motor, and energize the correct coils to match any requested position set point. The driver also has a constant-velocity mode, which is useful during lathe operation.
I completed this lathe modification using a scrap materials that I was given for free, including the BLDC motor. The modification has been working great since it was completed in September of 2023. It's a 4040, 14P, 400kV motor rated ~1500W. The power supply is 48V and only 350W, but the lathe has handled any job that I've thrown at it. An Arduino Nano reads the position of the stock speed control potentiometer, and sends serial commands to adjust the ODrive to the requested speed.
Since modifying cheap lathes like this is a popular project for many backyard engineers, I hope that by publishing my upgrade models it will inspire others to continue creating new and better lathe modification innovations.
I built this metal foundry furnace to grow my skills as a metalworker, and to improve the manufacturing capabilities of my backyard workshop.
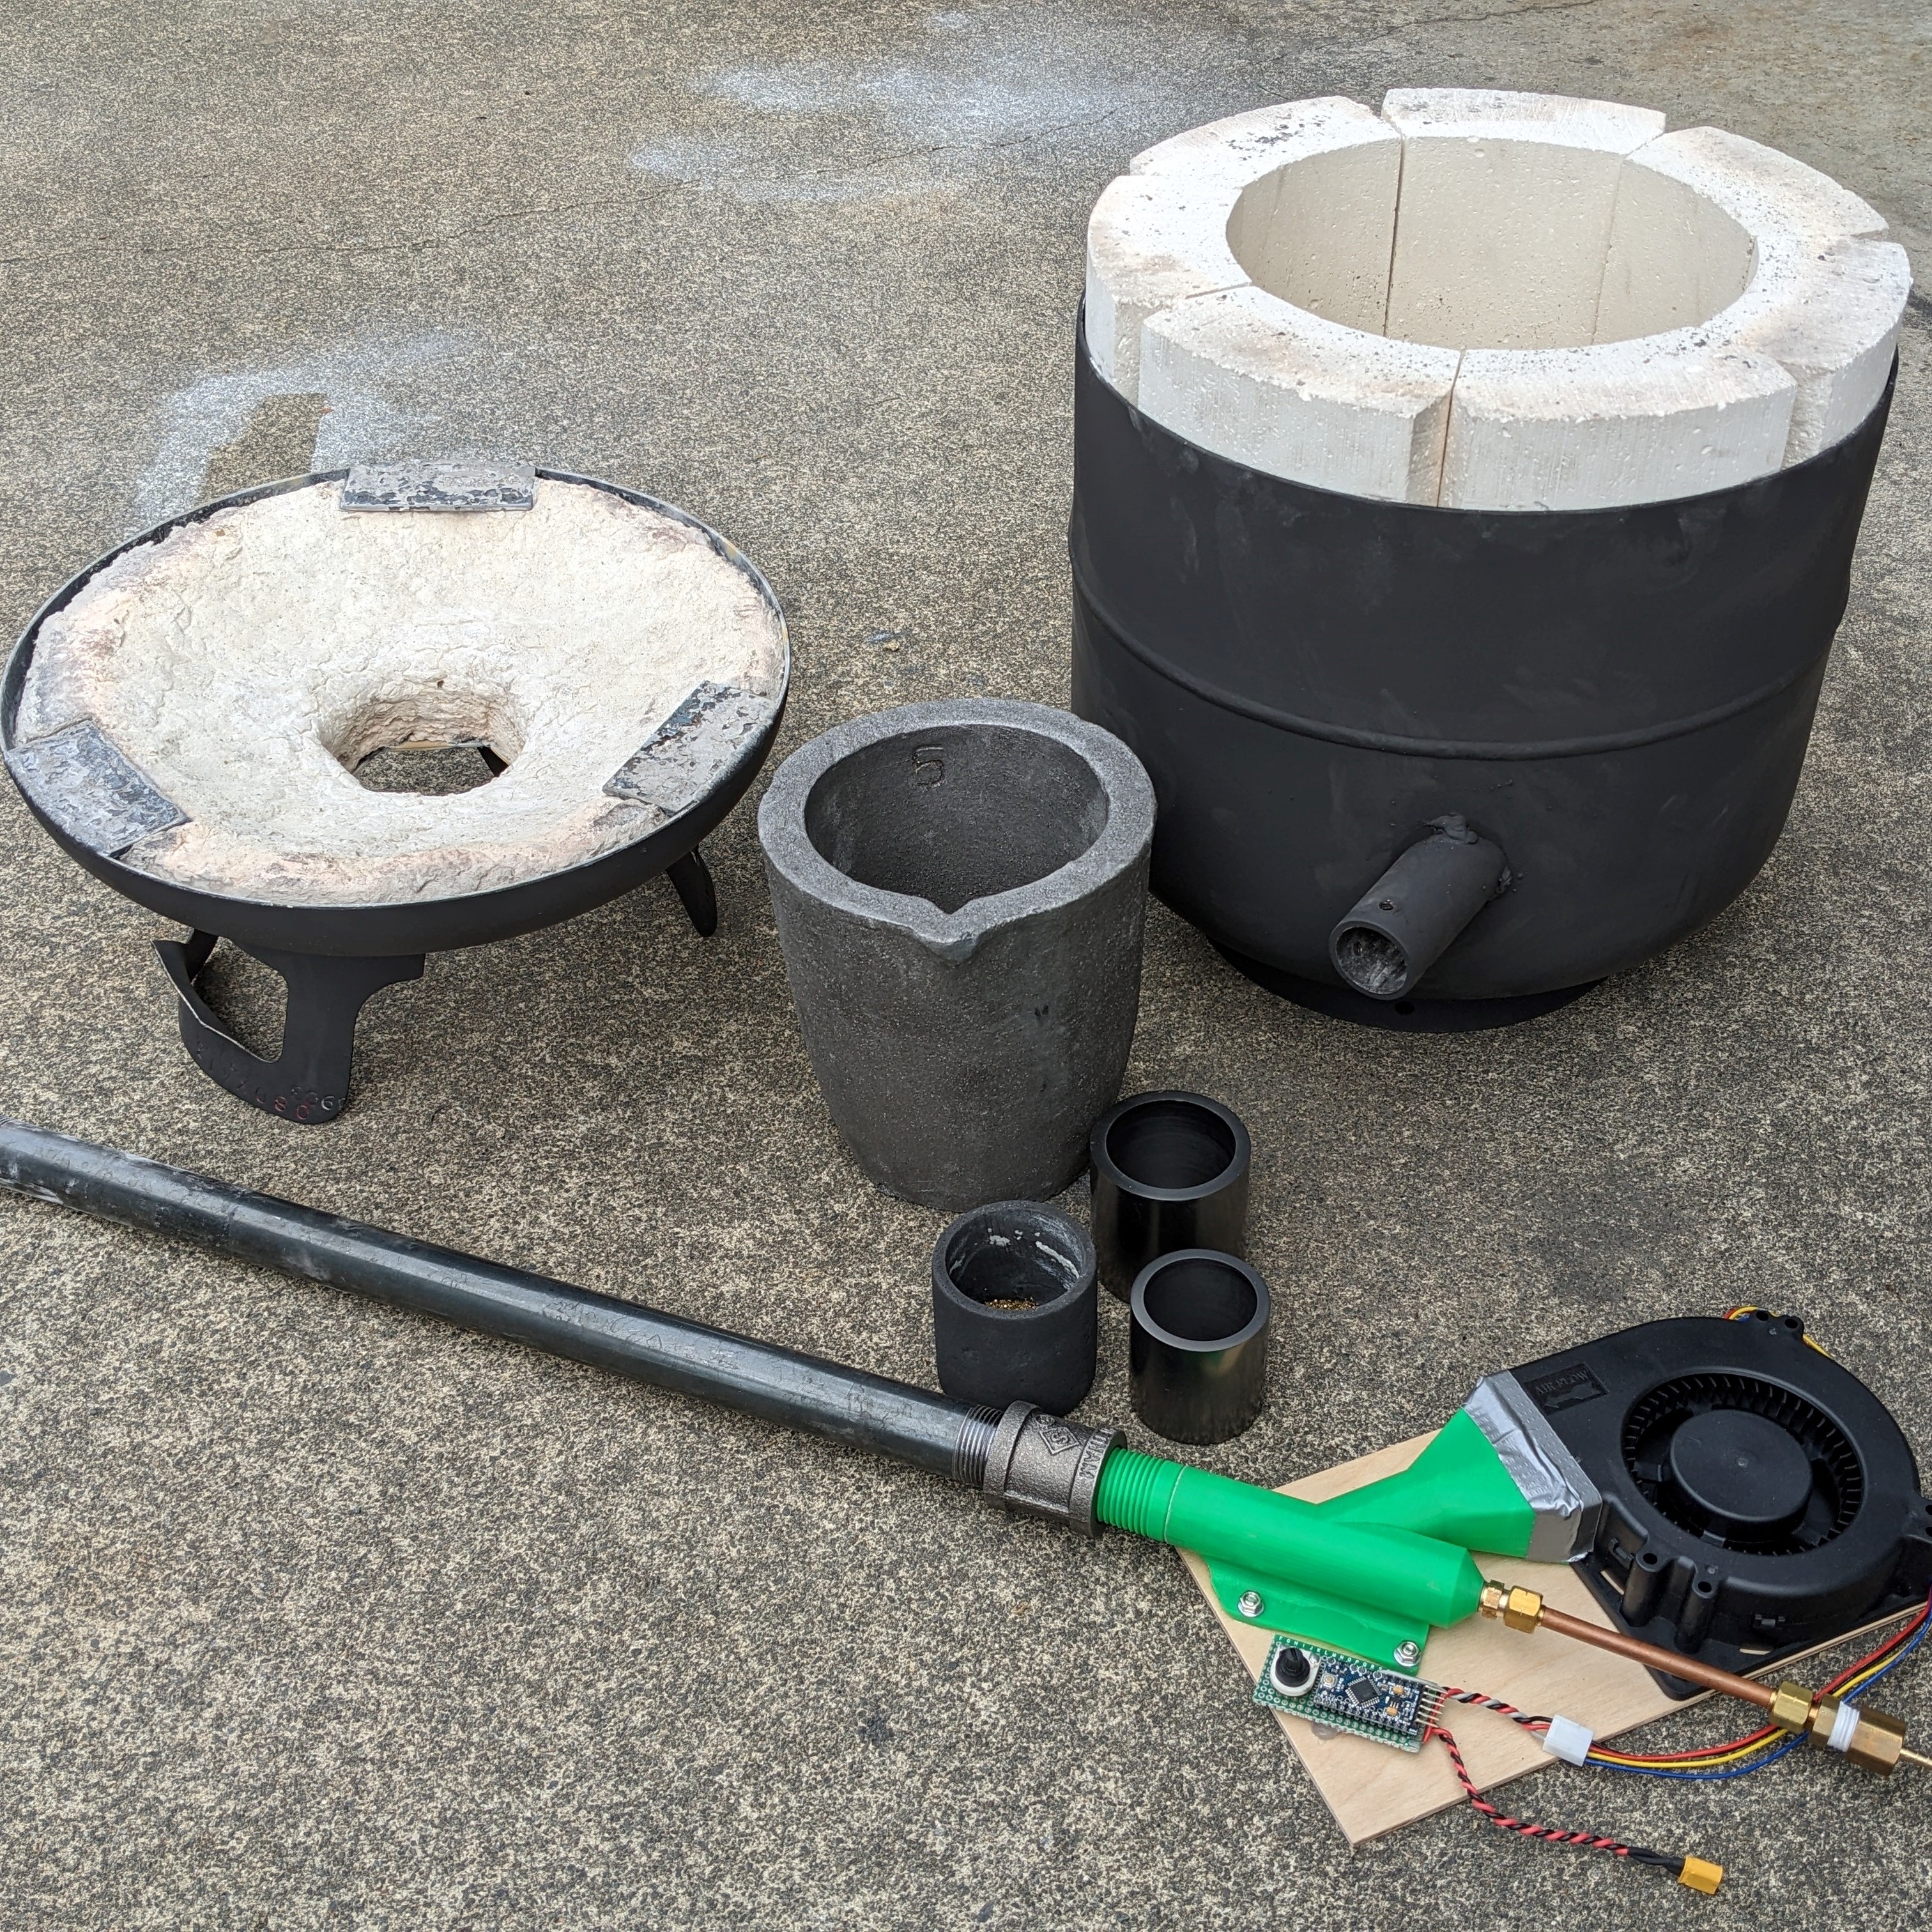
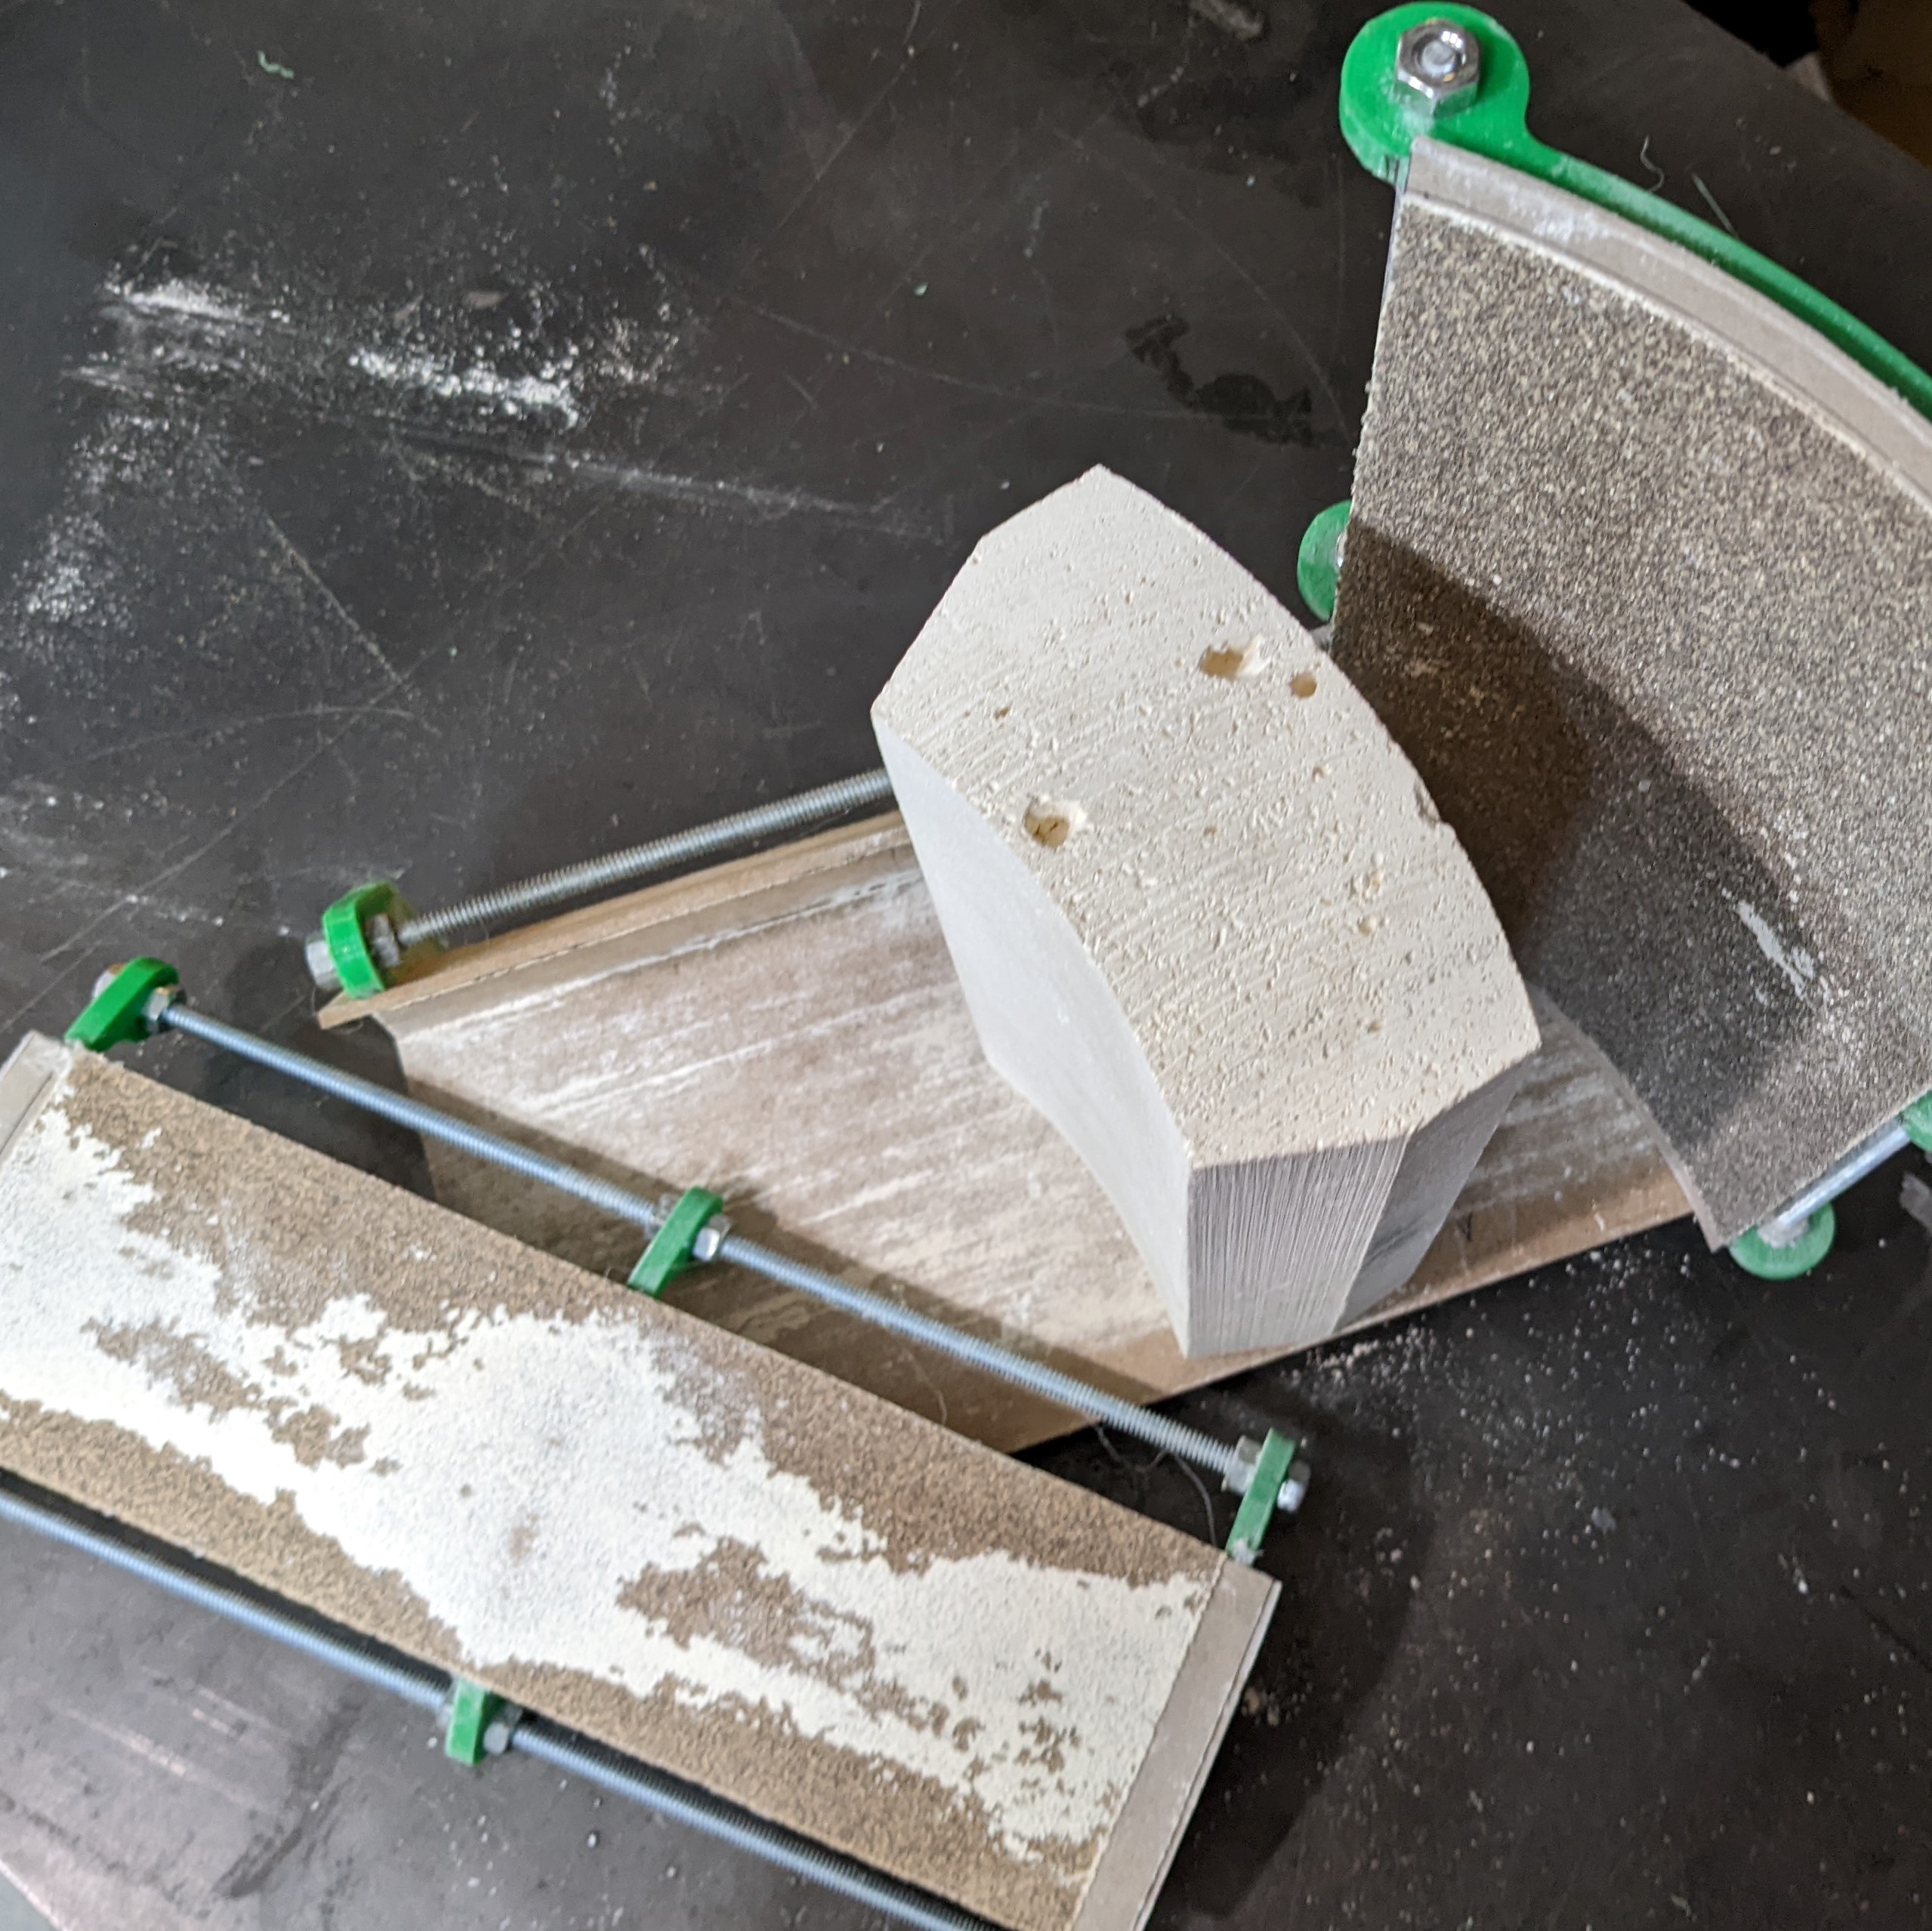
This custom furnace design is unique because I constructed it using a novel method. I first modeled the entire furnace in Fusion360, and designed some specialized firebrick-grinding jigs to achieve a near perfect fitment of the insulating bricks. A CAD model of the furnace can be found on my GrabCAD.
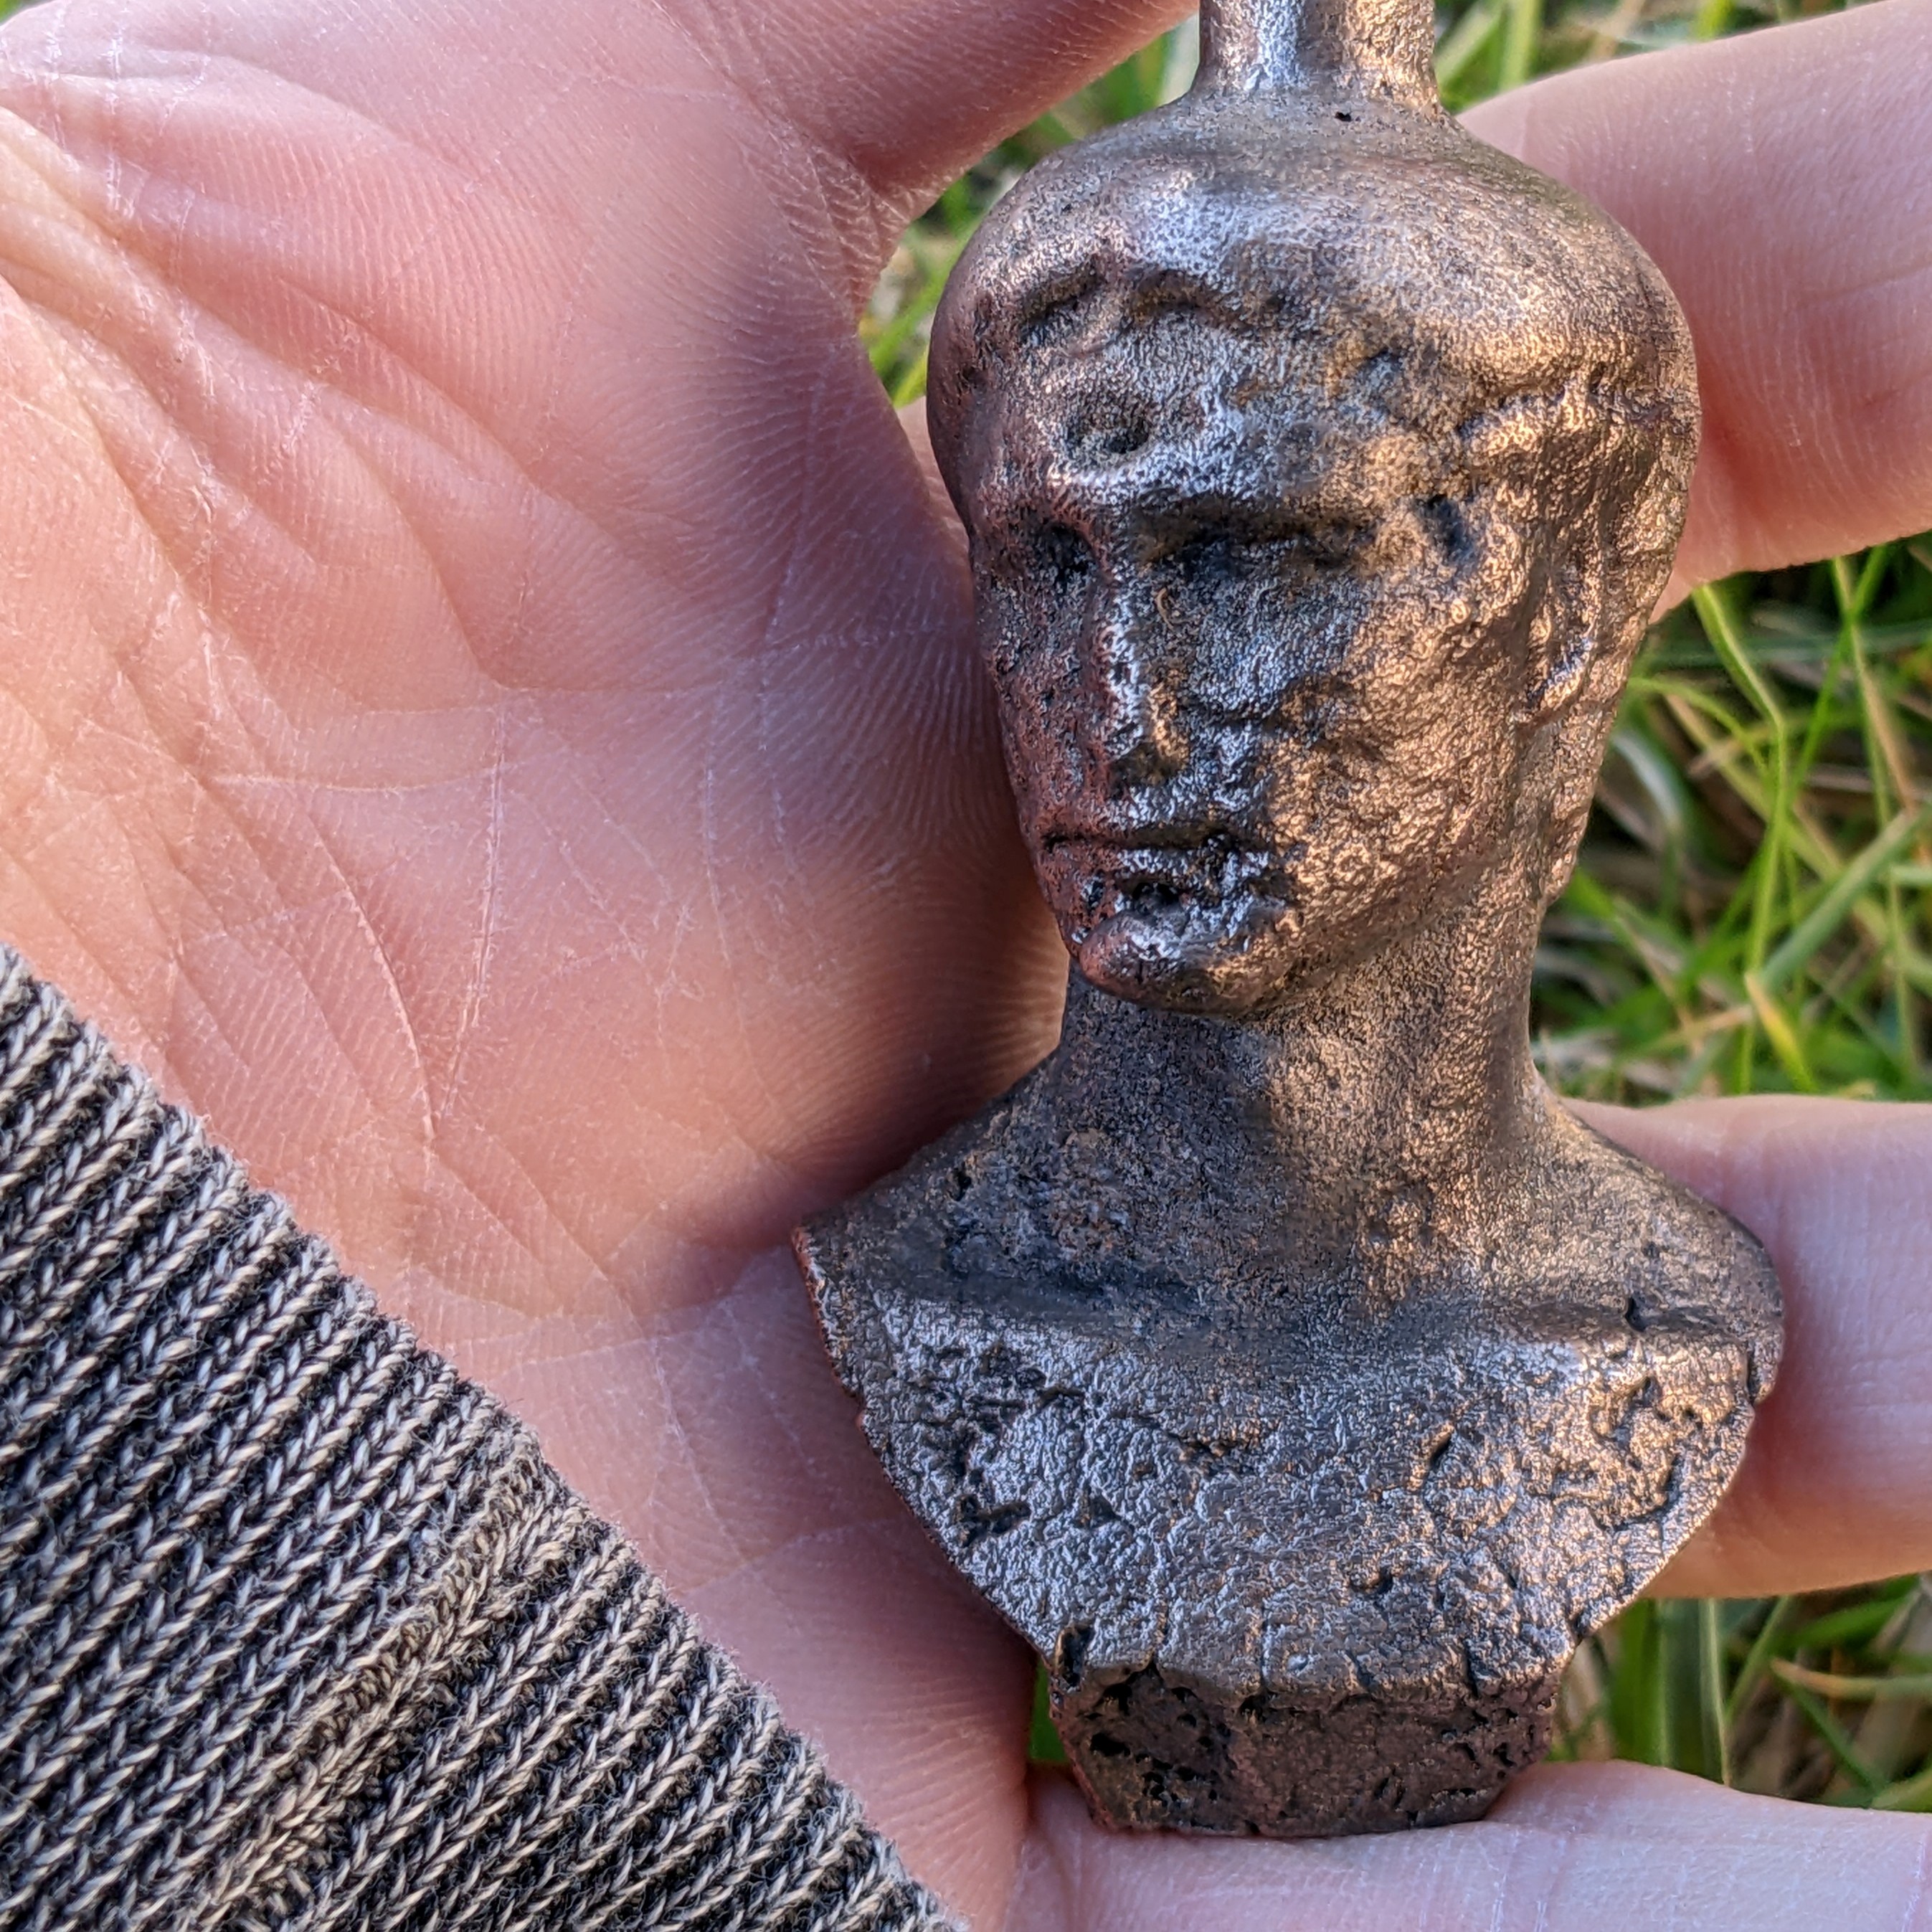
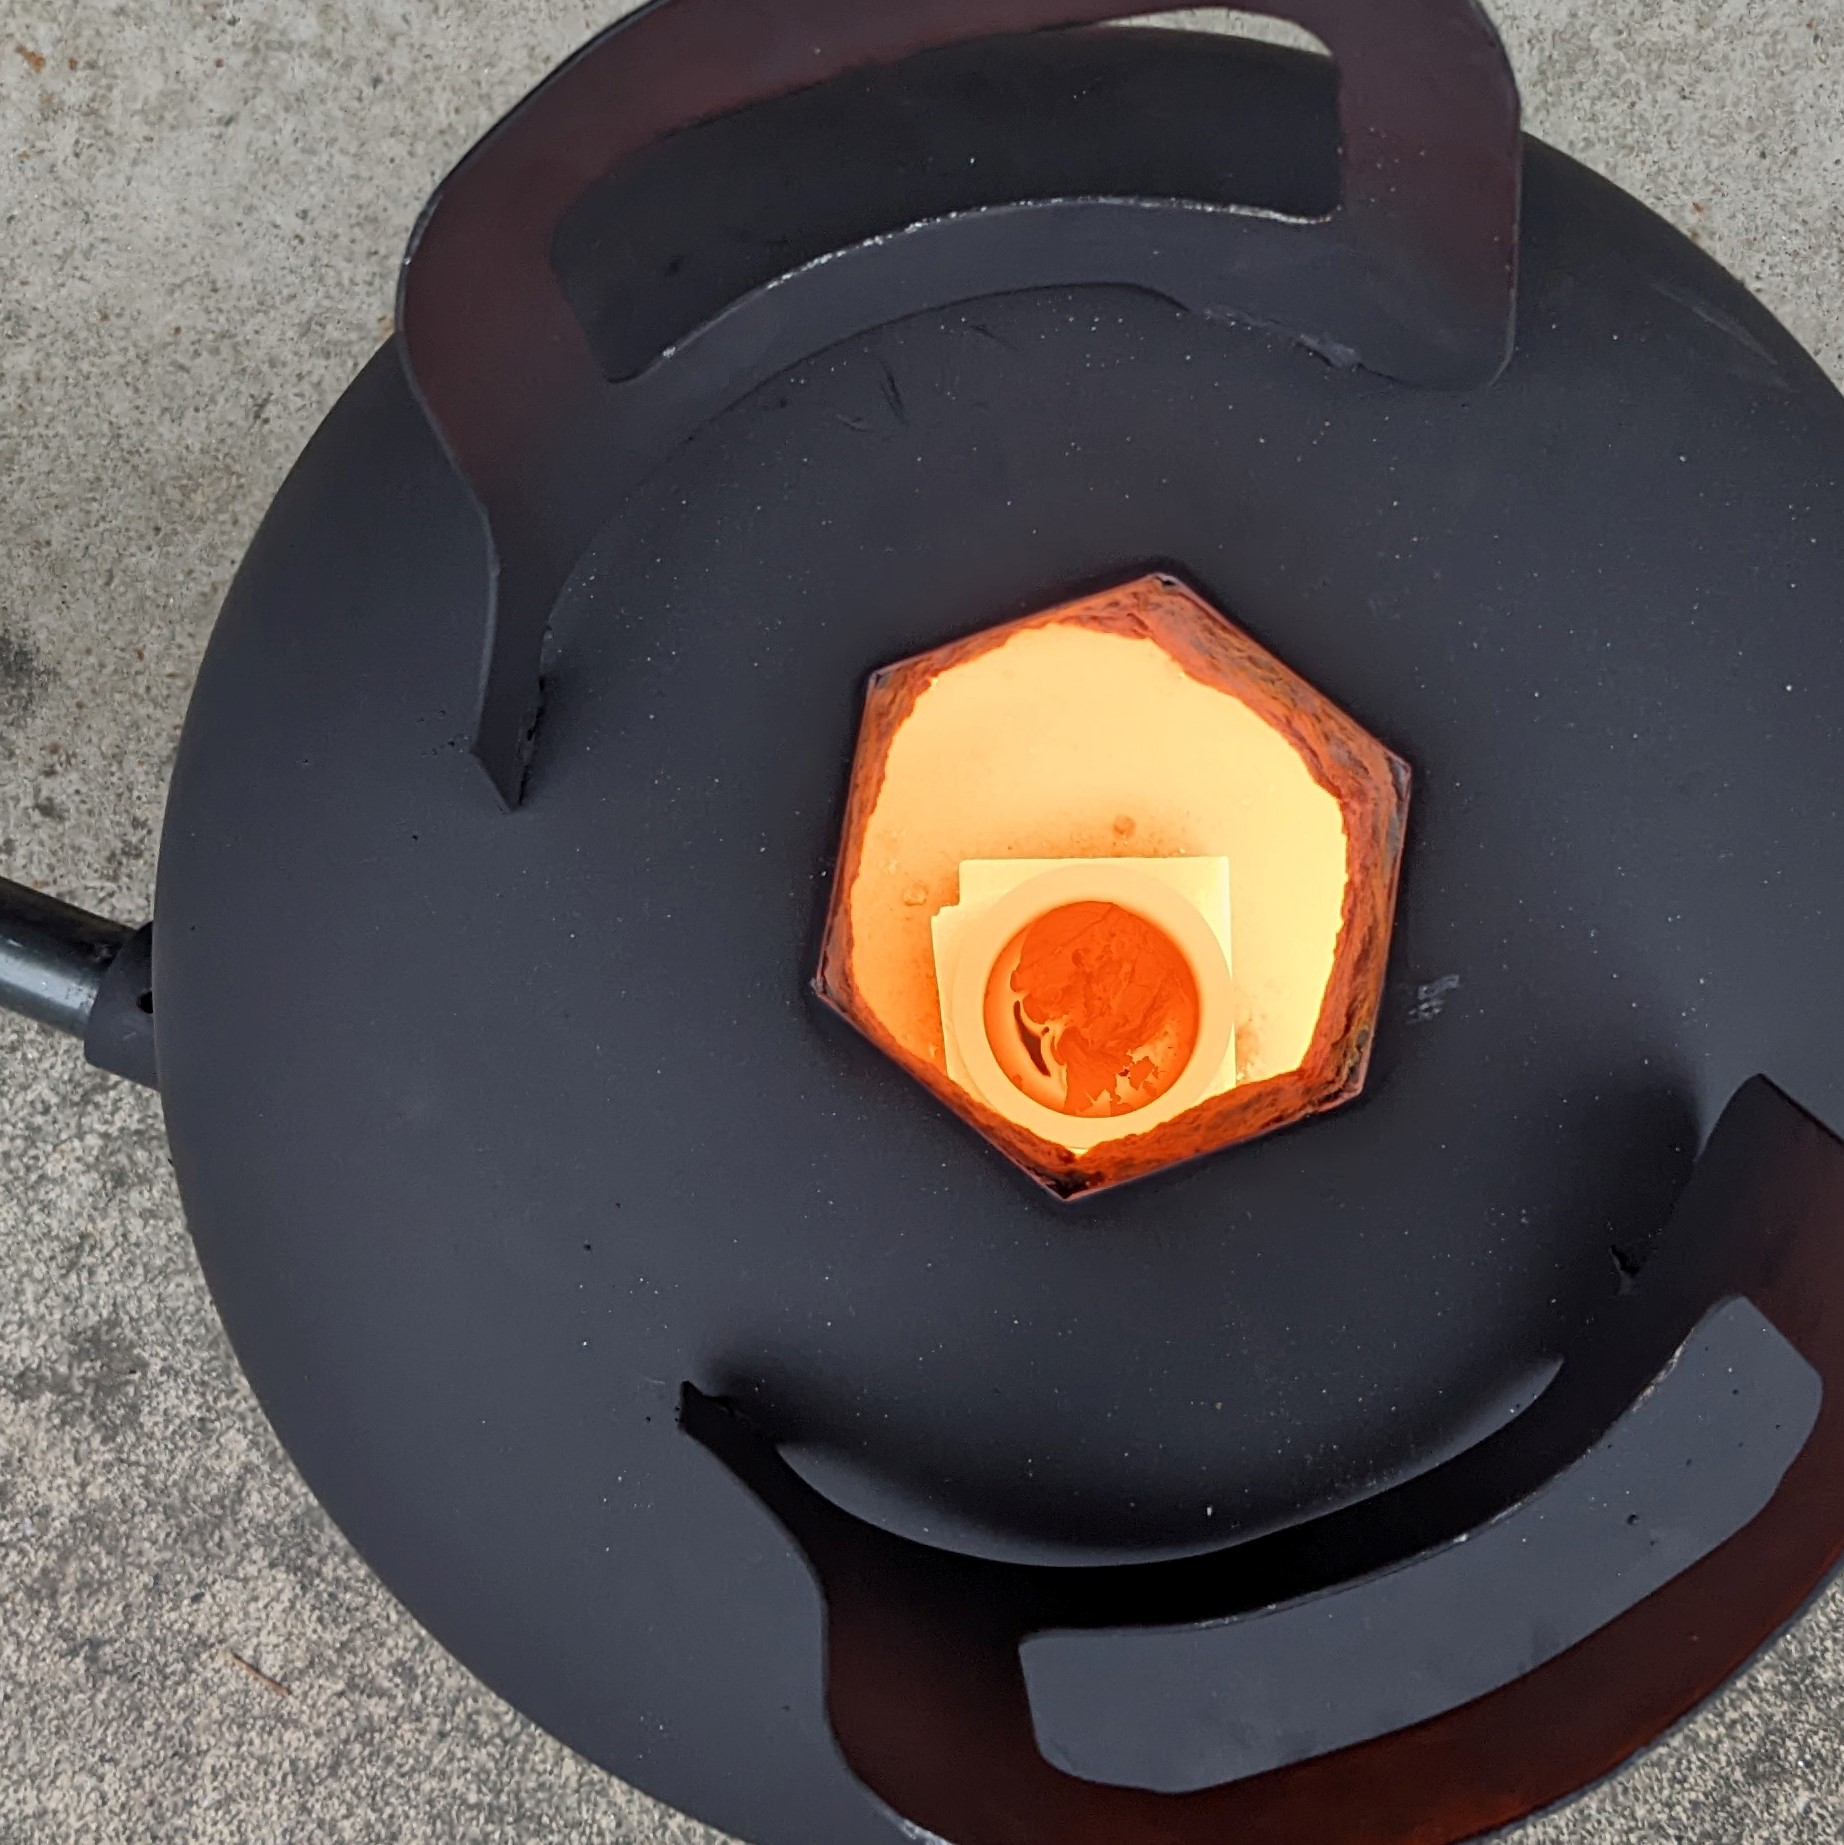
Below you can view images of my first metal casting attempt, the complete furnace setup, molten metal in the furnace, and the brick grinding jigs used during furnace construction. I have also embedded a YouTube video which documents the entire construction process.
I built this 3D printed (MPCNC) router in early 2021 because I wanted to expand the manufacturing capabilities of my workshop, become proficient in CNC toolpathing, and understand the principles of CNC manufacturing.
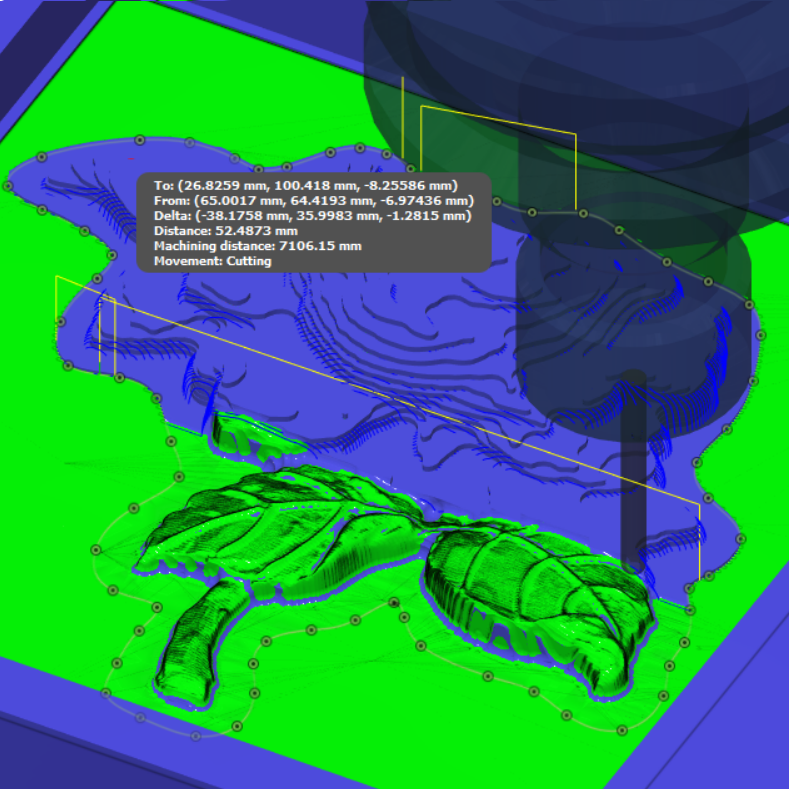
For cutting and milling operations, the machine is equipped with a standard 500W air-cooled spindle. With an ER-11 collet, it can hold a variety of tools including engraving bits, endmills, and facing bits. The machine can cut a variety of materials including plywood, acrylic, MDF, and aluminium. One of my favorite things to use this machine for is carving bas-reliefs in foam or MDF. Using both Blender and Fusion360, I have created a workflow that allows me to turn any 3D model into a detailed relief carving.
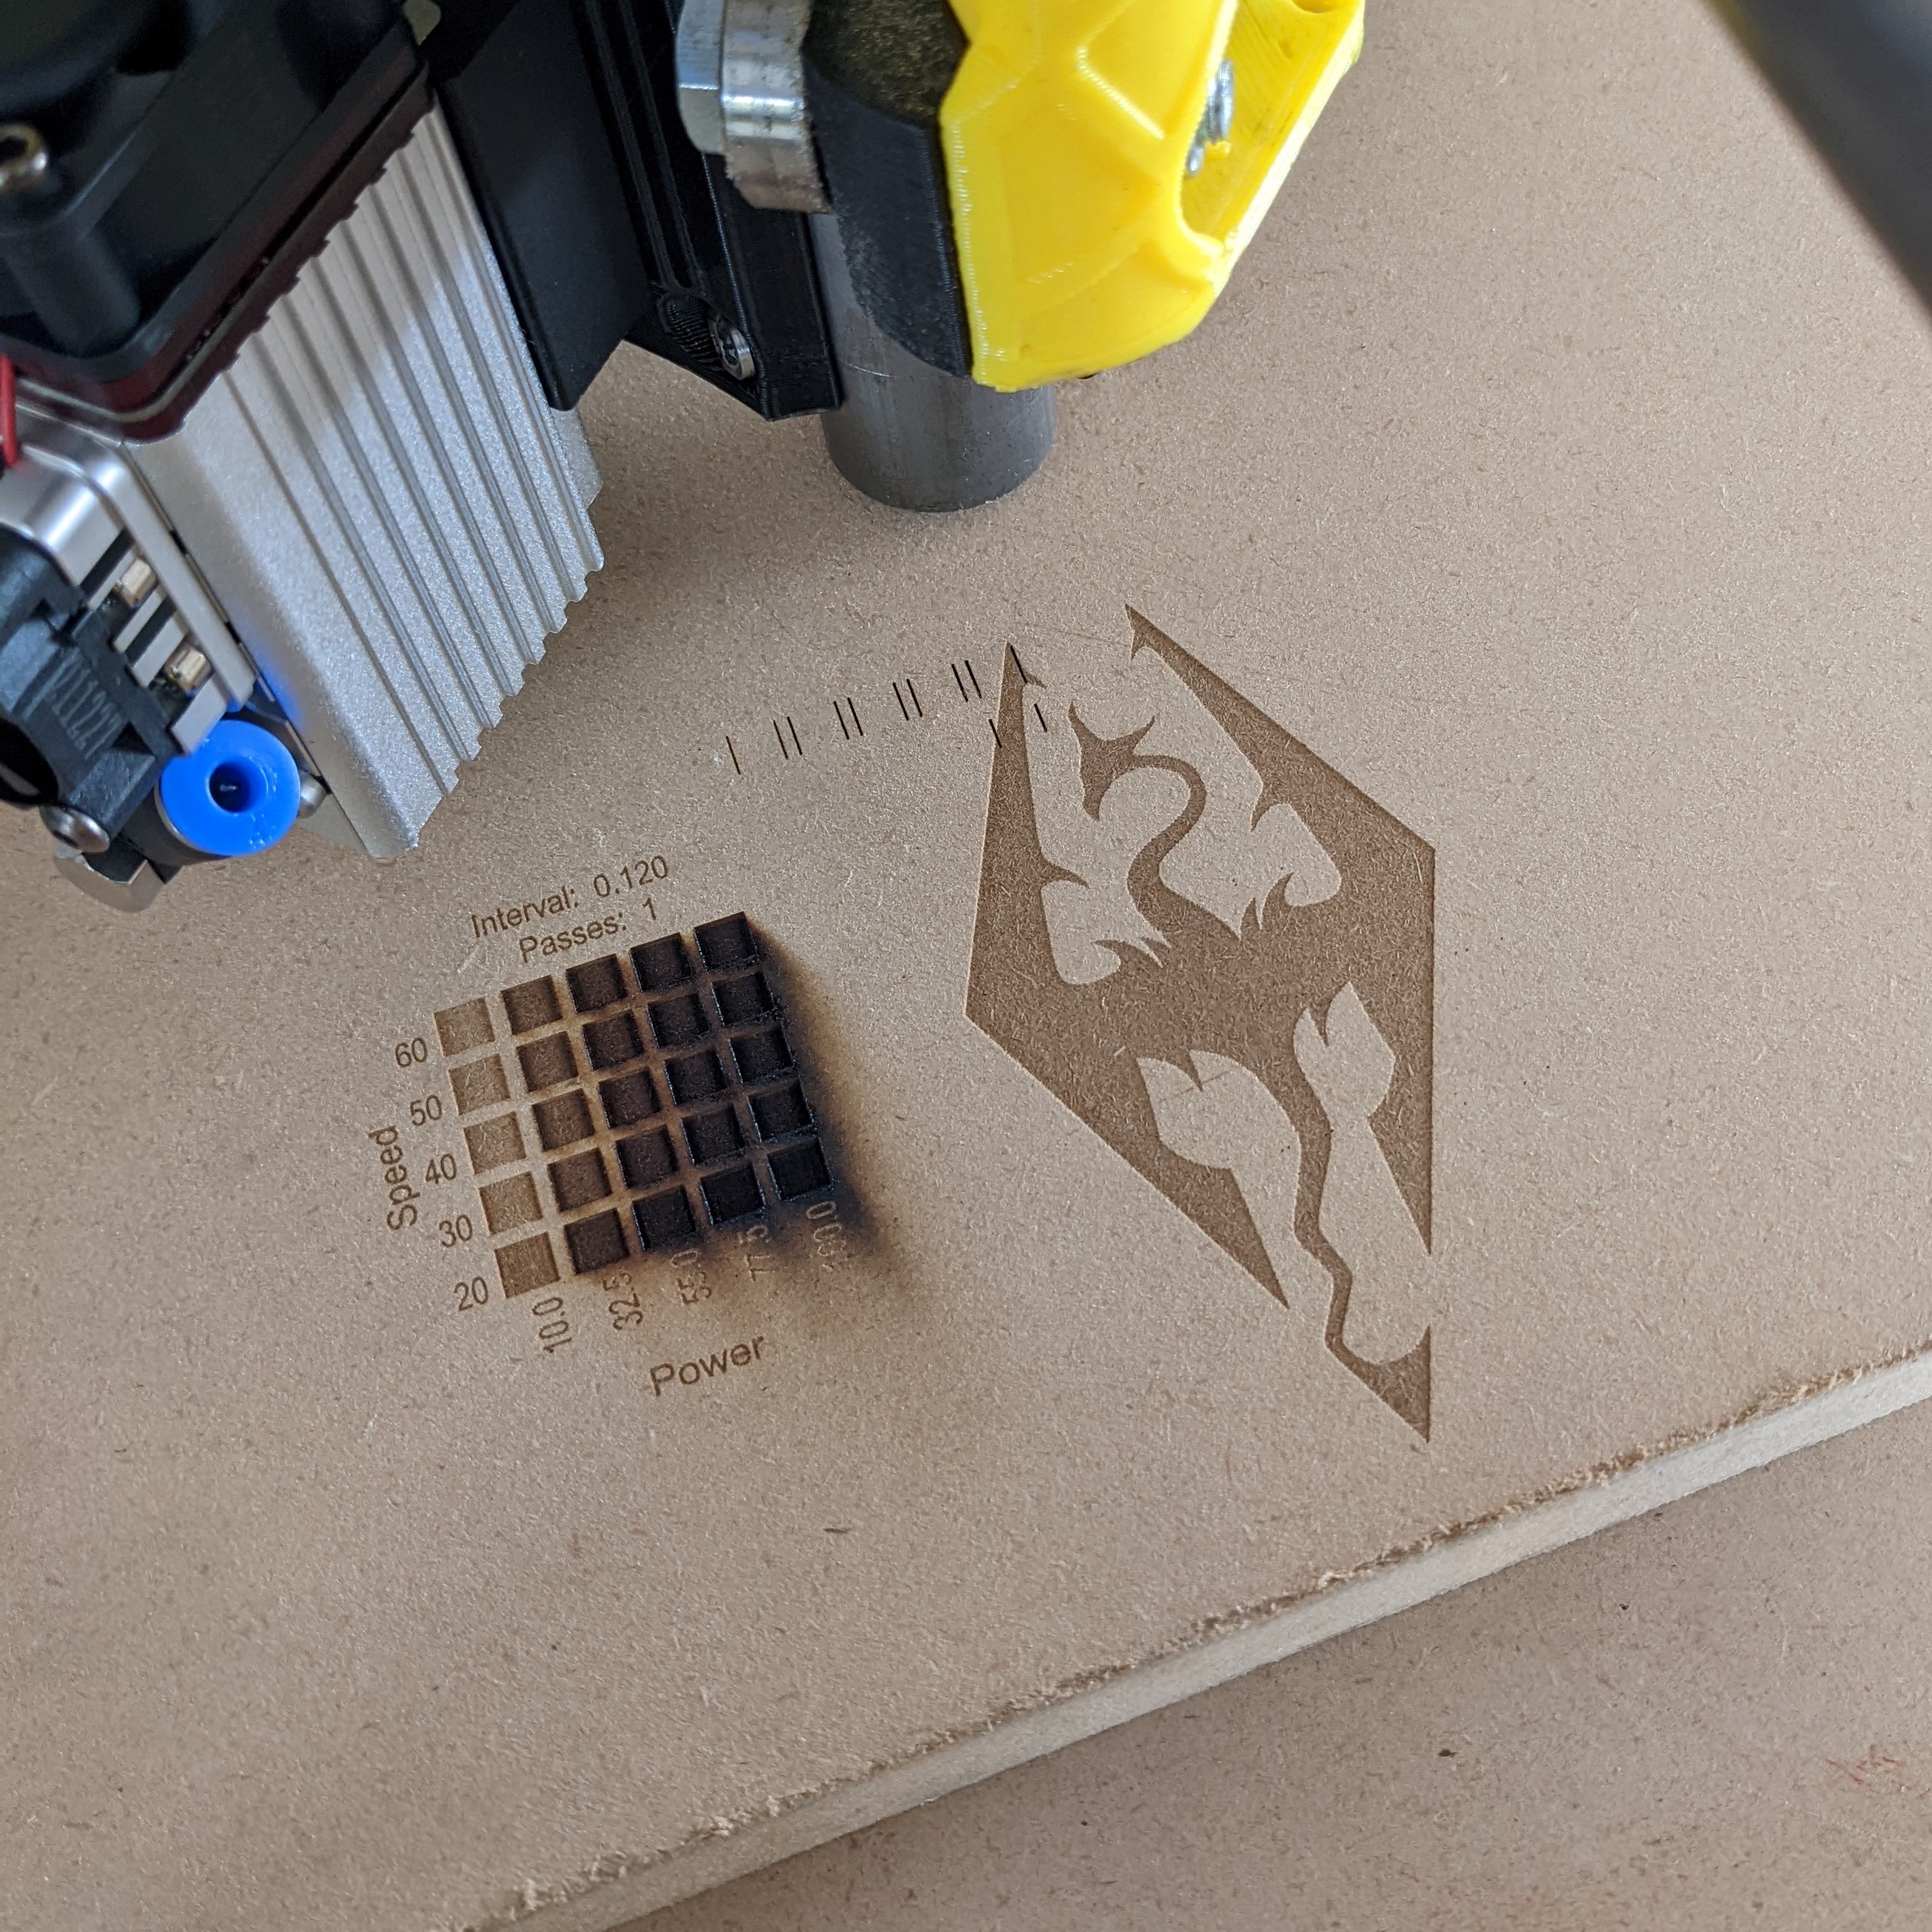
One advantage of this machine is that it is highly customisable. I have designed and printed a custom mount for the NEJE A40640 laser module which is a 12W optical output laser module capable of both cutting and engraving operations. Using 20psi of air assist, the laser module can cut through 1/4" plywood in only two passes! I have also mounted a pen attachment to the router, creating a pen-plotter device that can draw intricate artwork using a sheet of regular printer paper and a felt pen.
Check out some of the first test cuts:

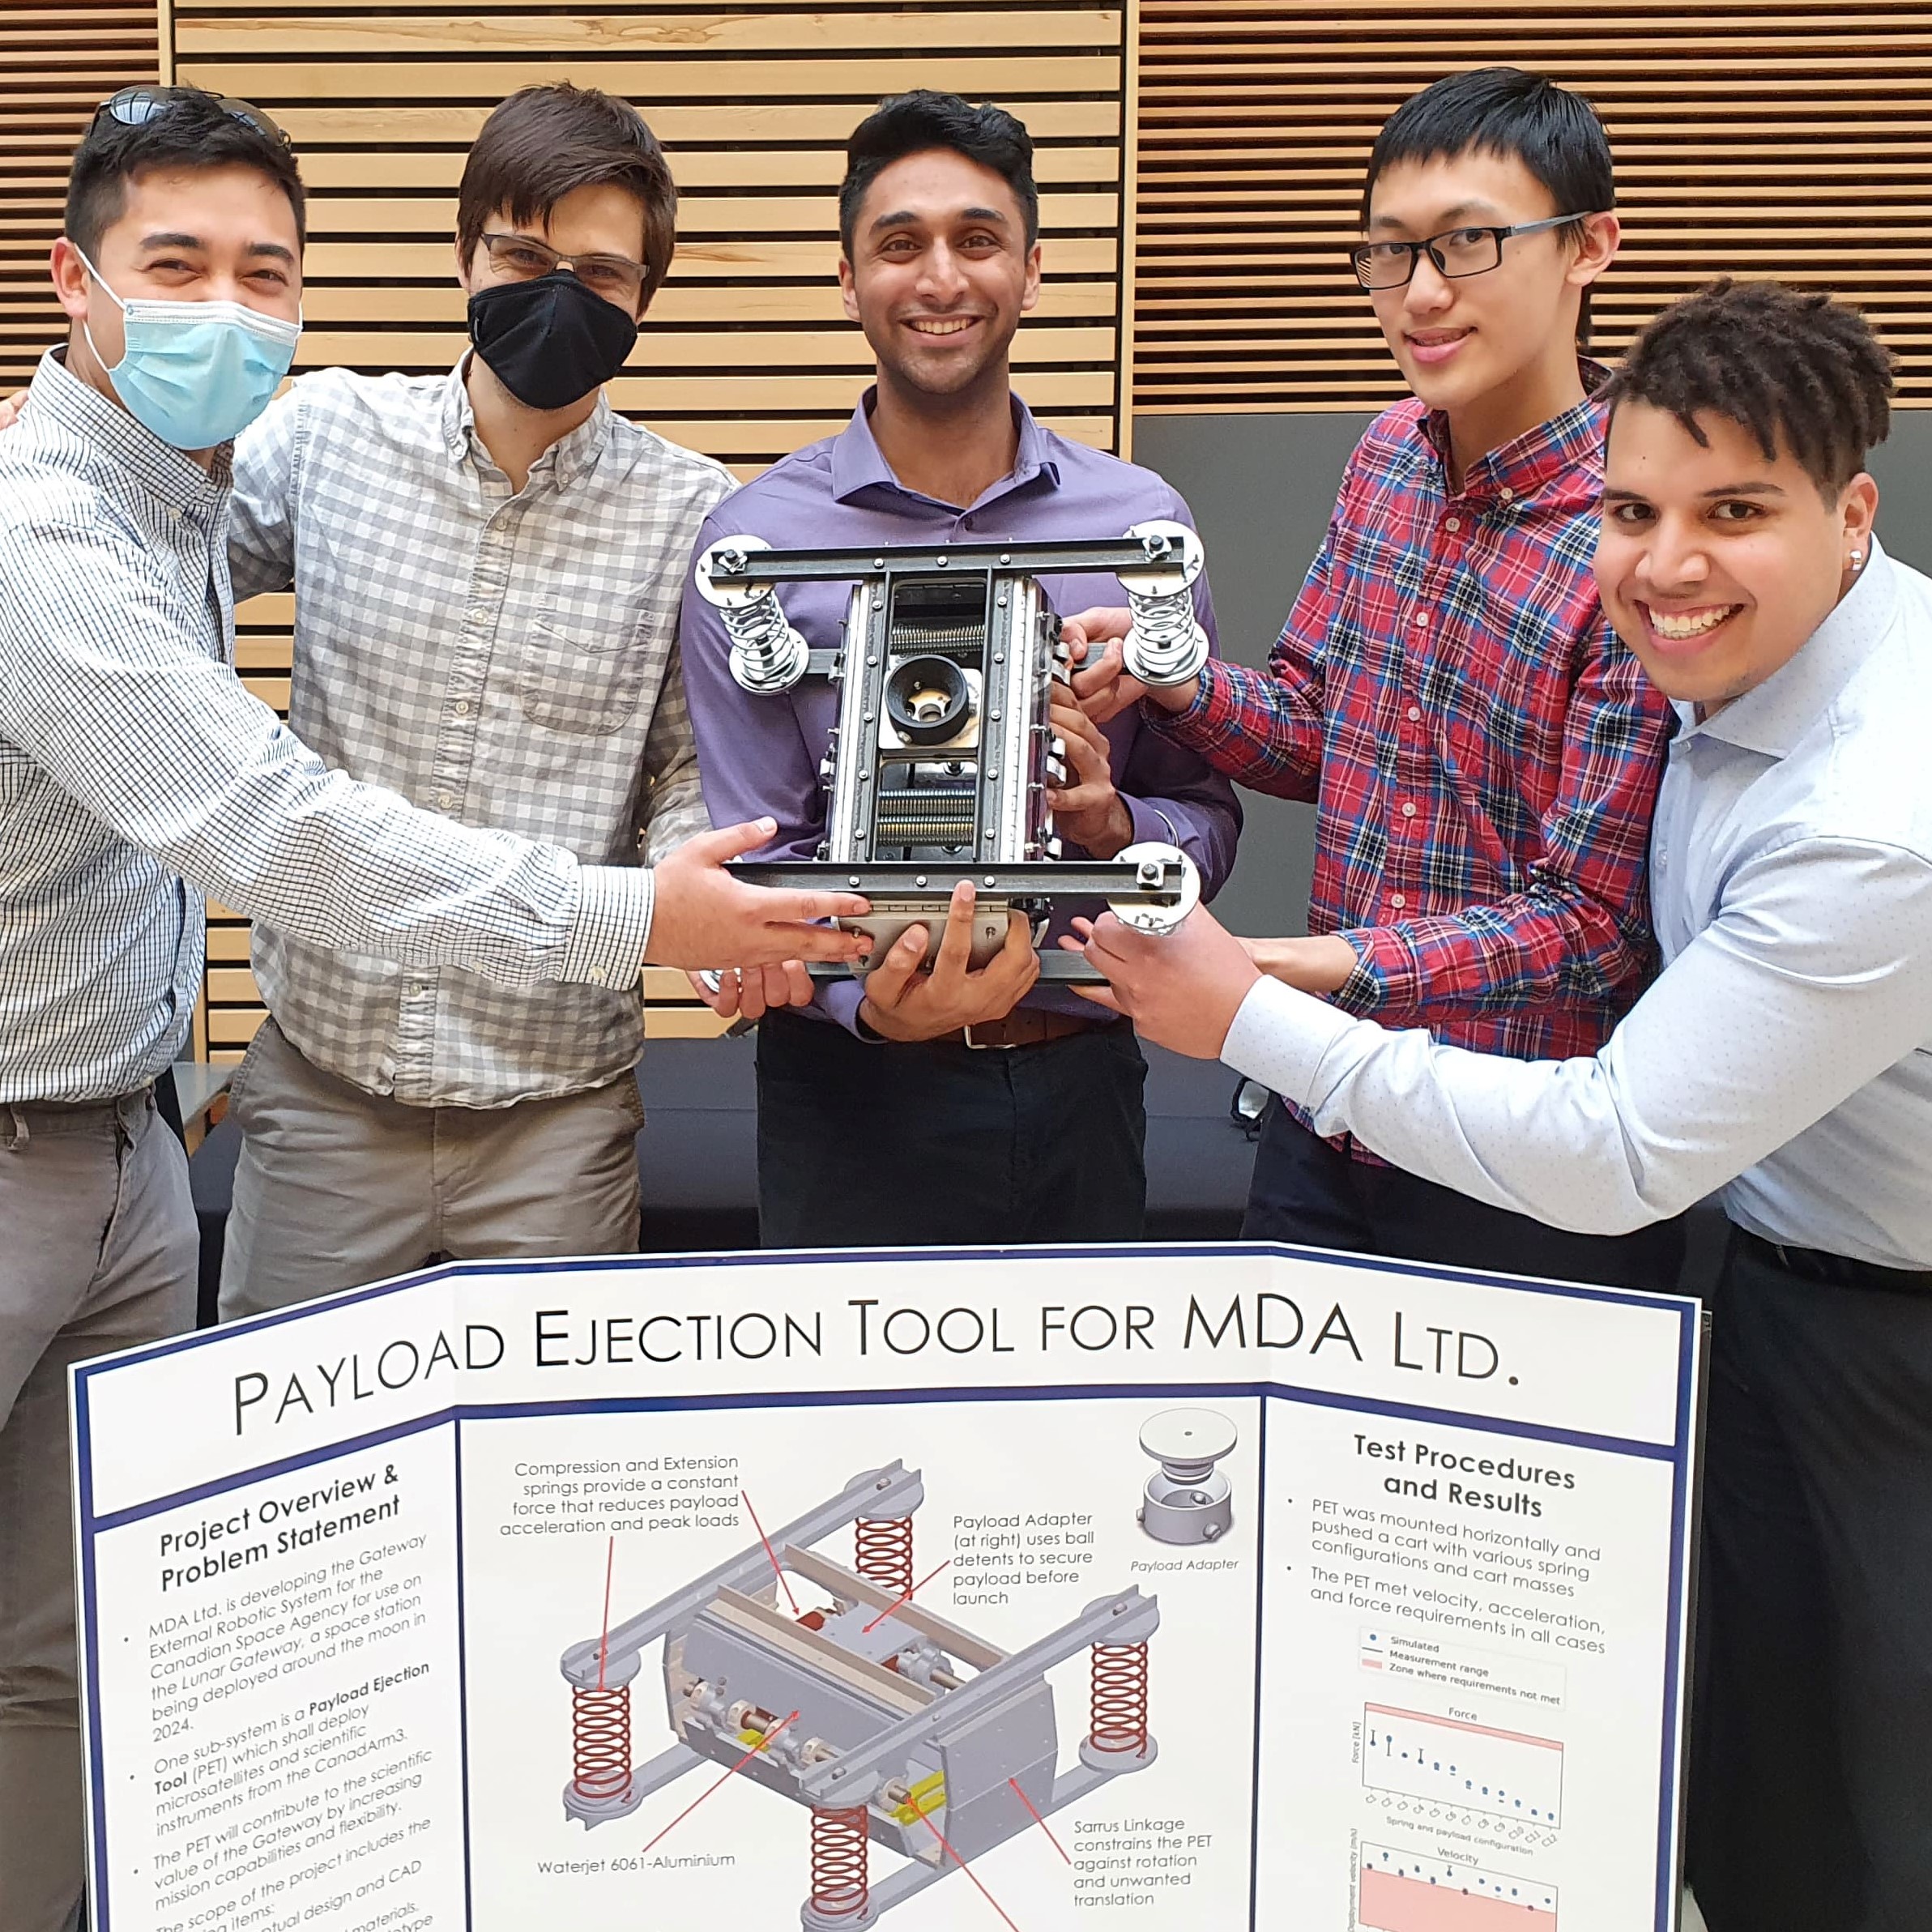
As part of fourth-year cirriculum, all mechanical engineering students at the University of British Columbia must complete a Capstone design project. In these projects, students partner with client companies to solve a real-world engineering problem and develop a working prototype.
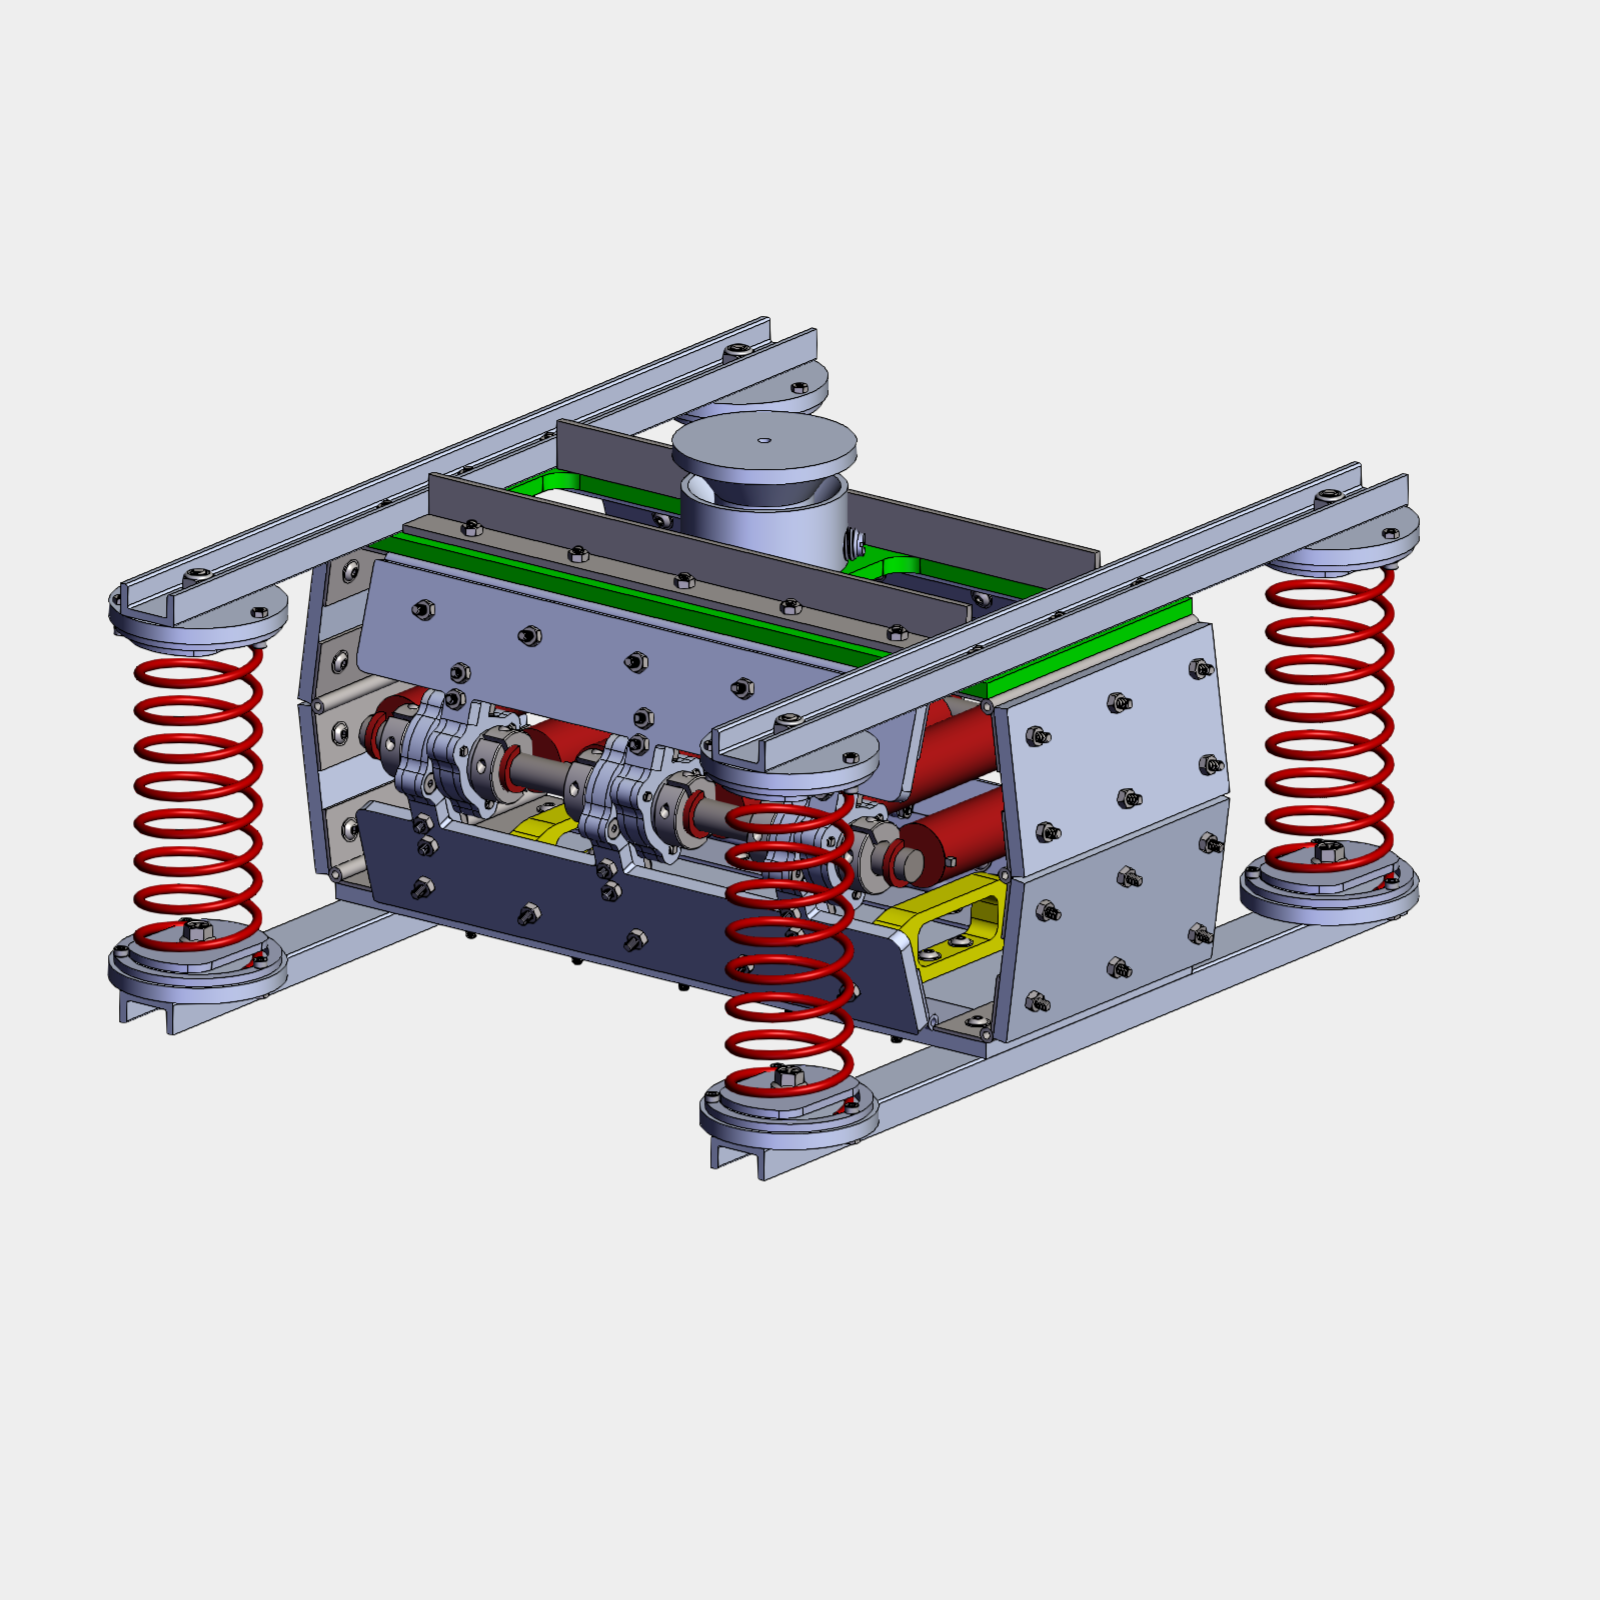
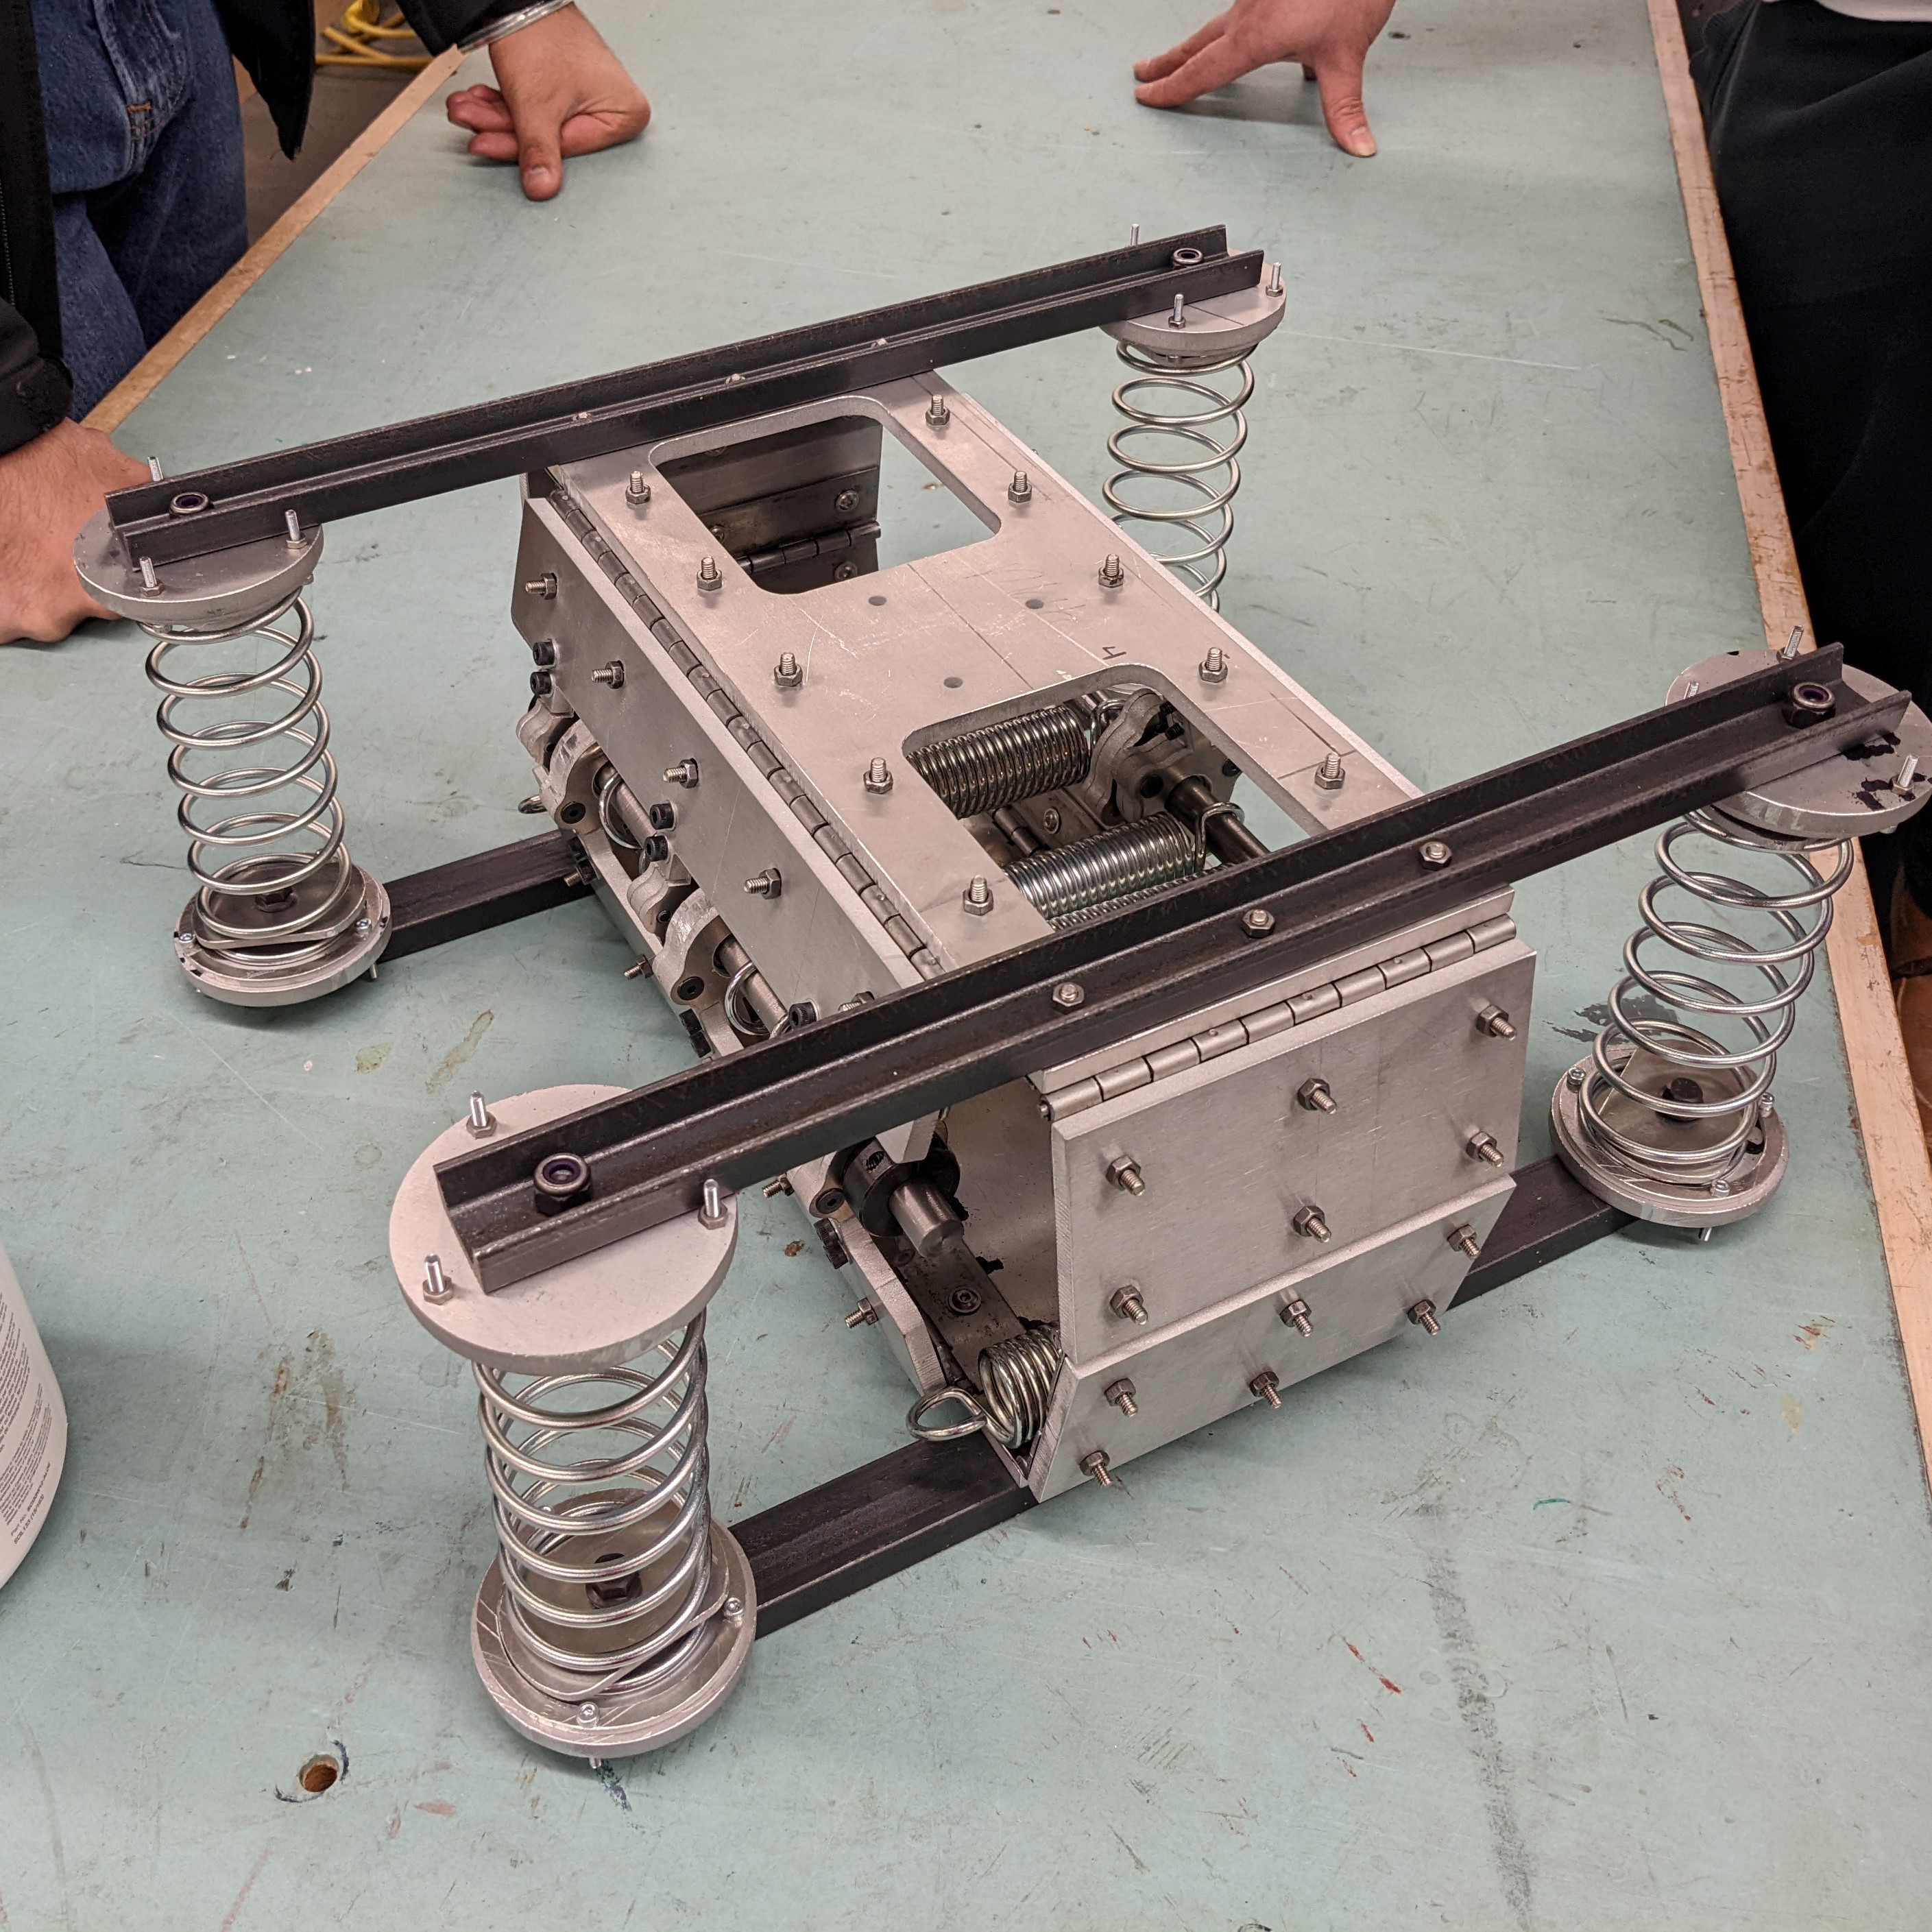
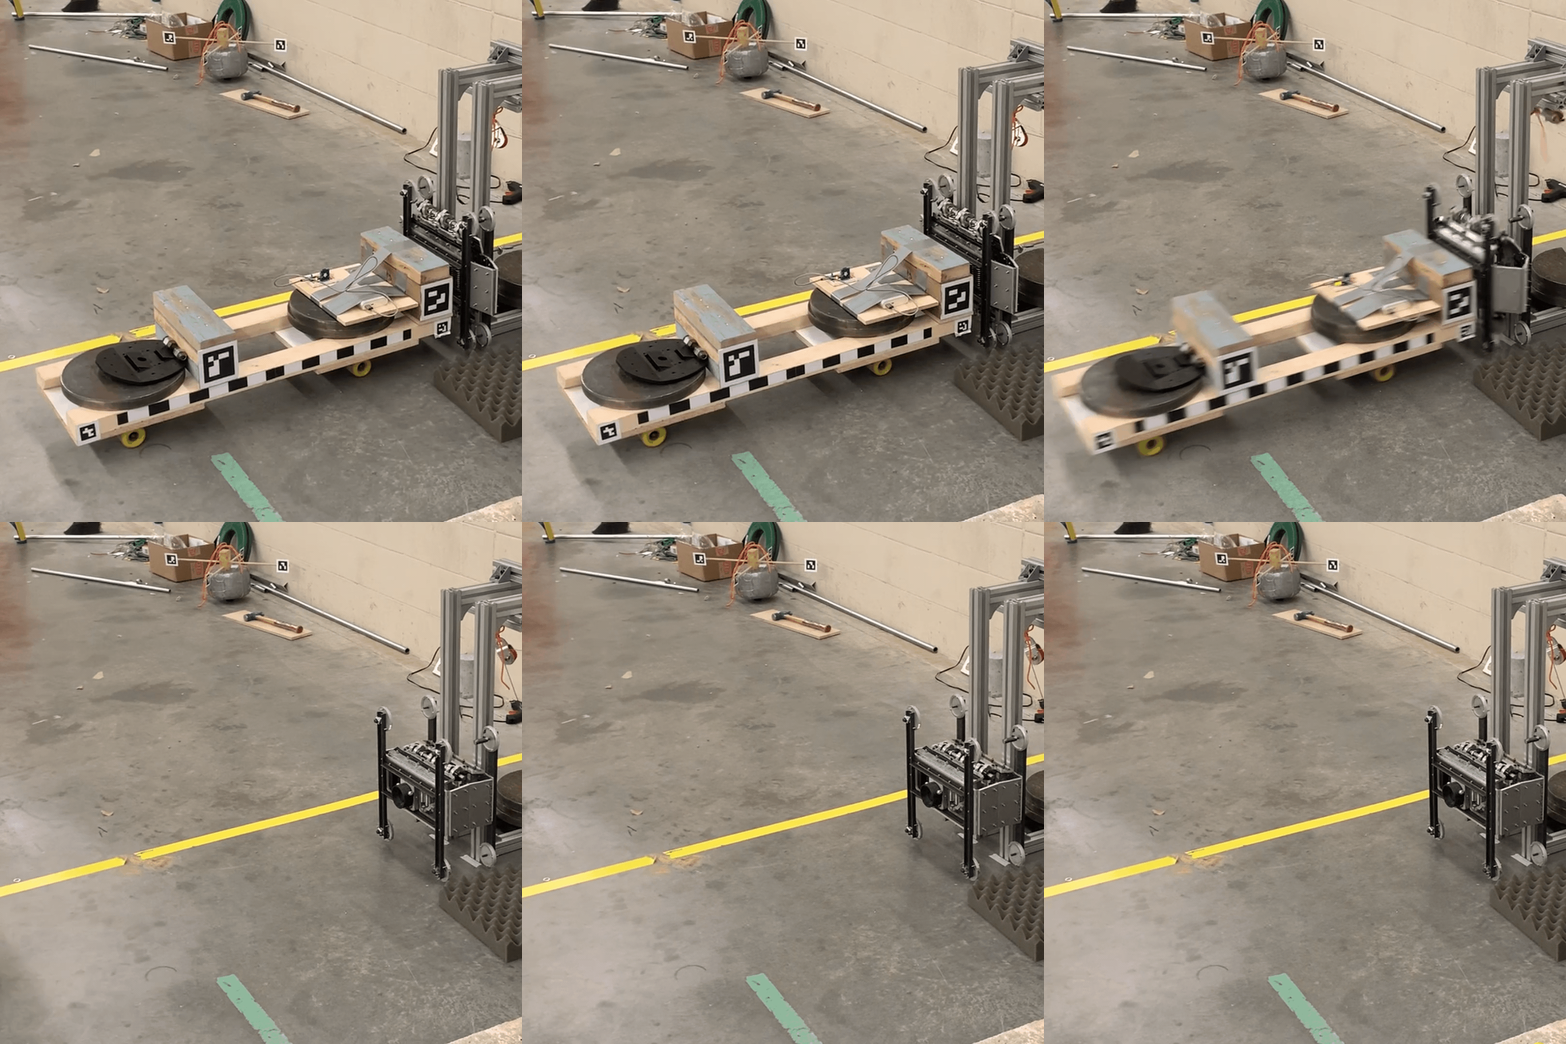
One of my close friends offered me the chance to join his team working for MDA Ltd., to build a payload ejection tool (PET) for satellite-launch applications aboard the Lunar Gateway space station. I was excited to join the team with my brilliant classmates, and we worked hard to design a prototype that achieved all key functional requirements outlined by MDA.
Along the way I learned many lessons in project management, rapid prototyping, communication, and teamwork. Our prototype stores a substantial amount of energy in a very compact volume, so the project was also a good exercise in structural analysis, CAD modelling, and CNC manufacturing. Most importantly the project helped cultivate professional relationships and created lasting friendships.
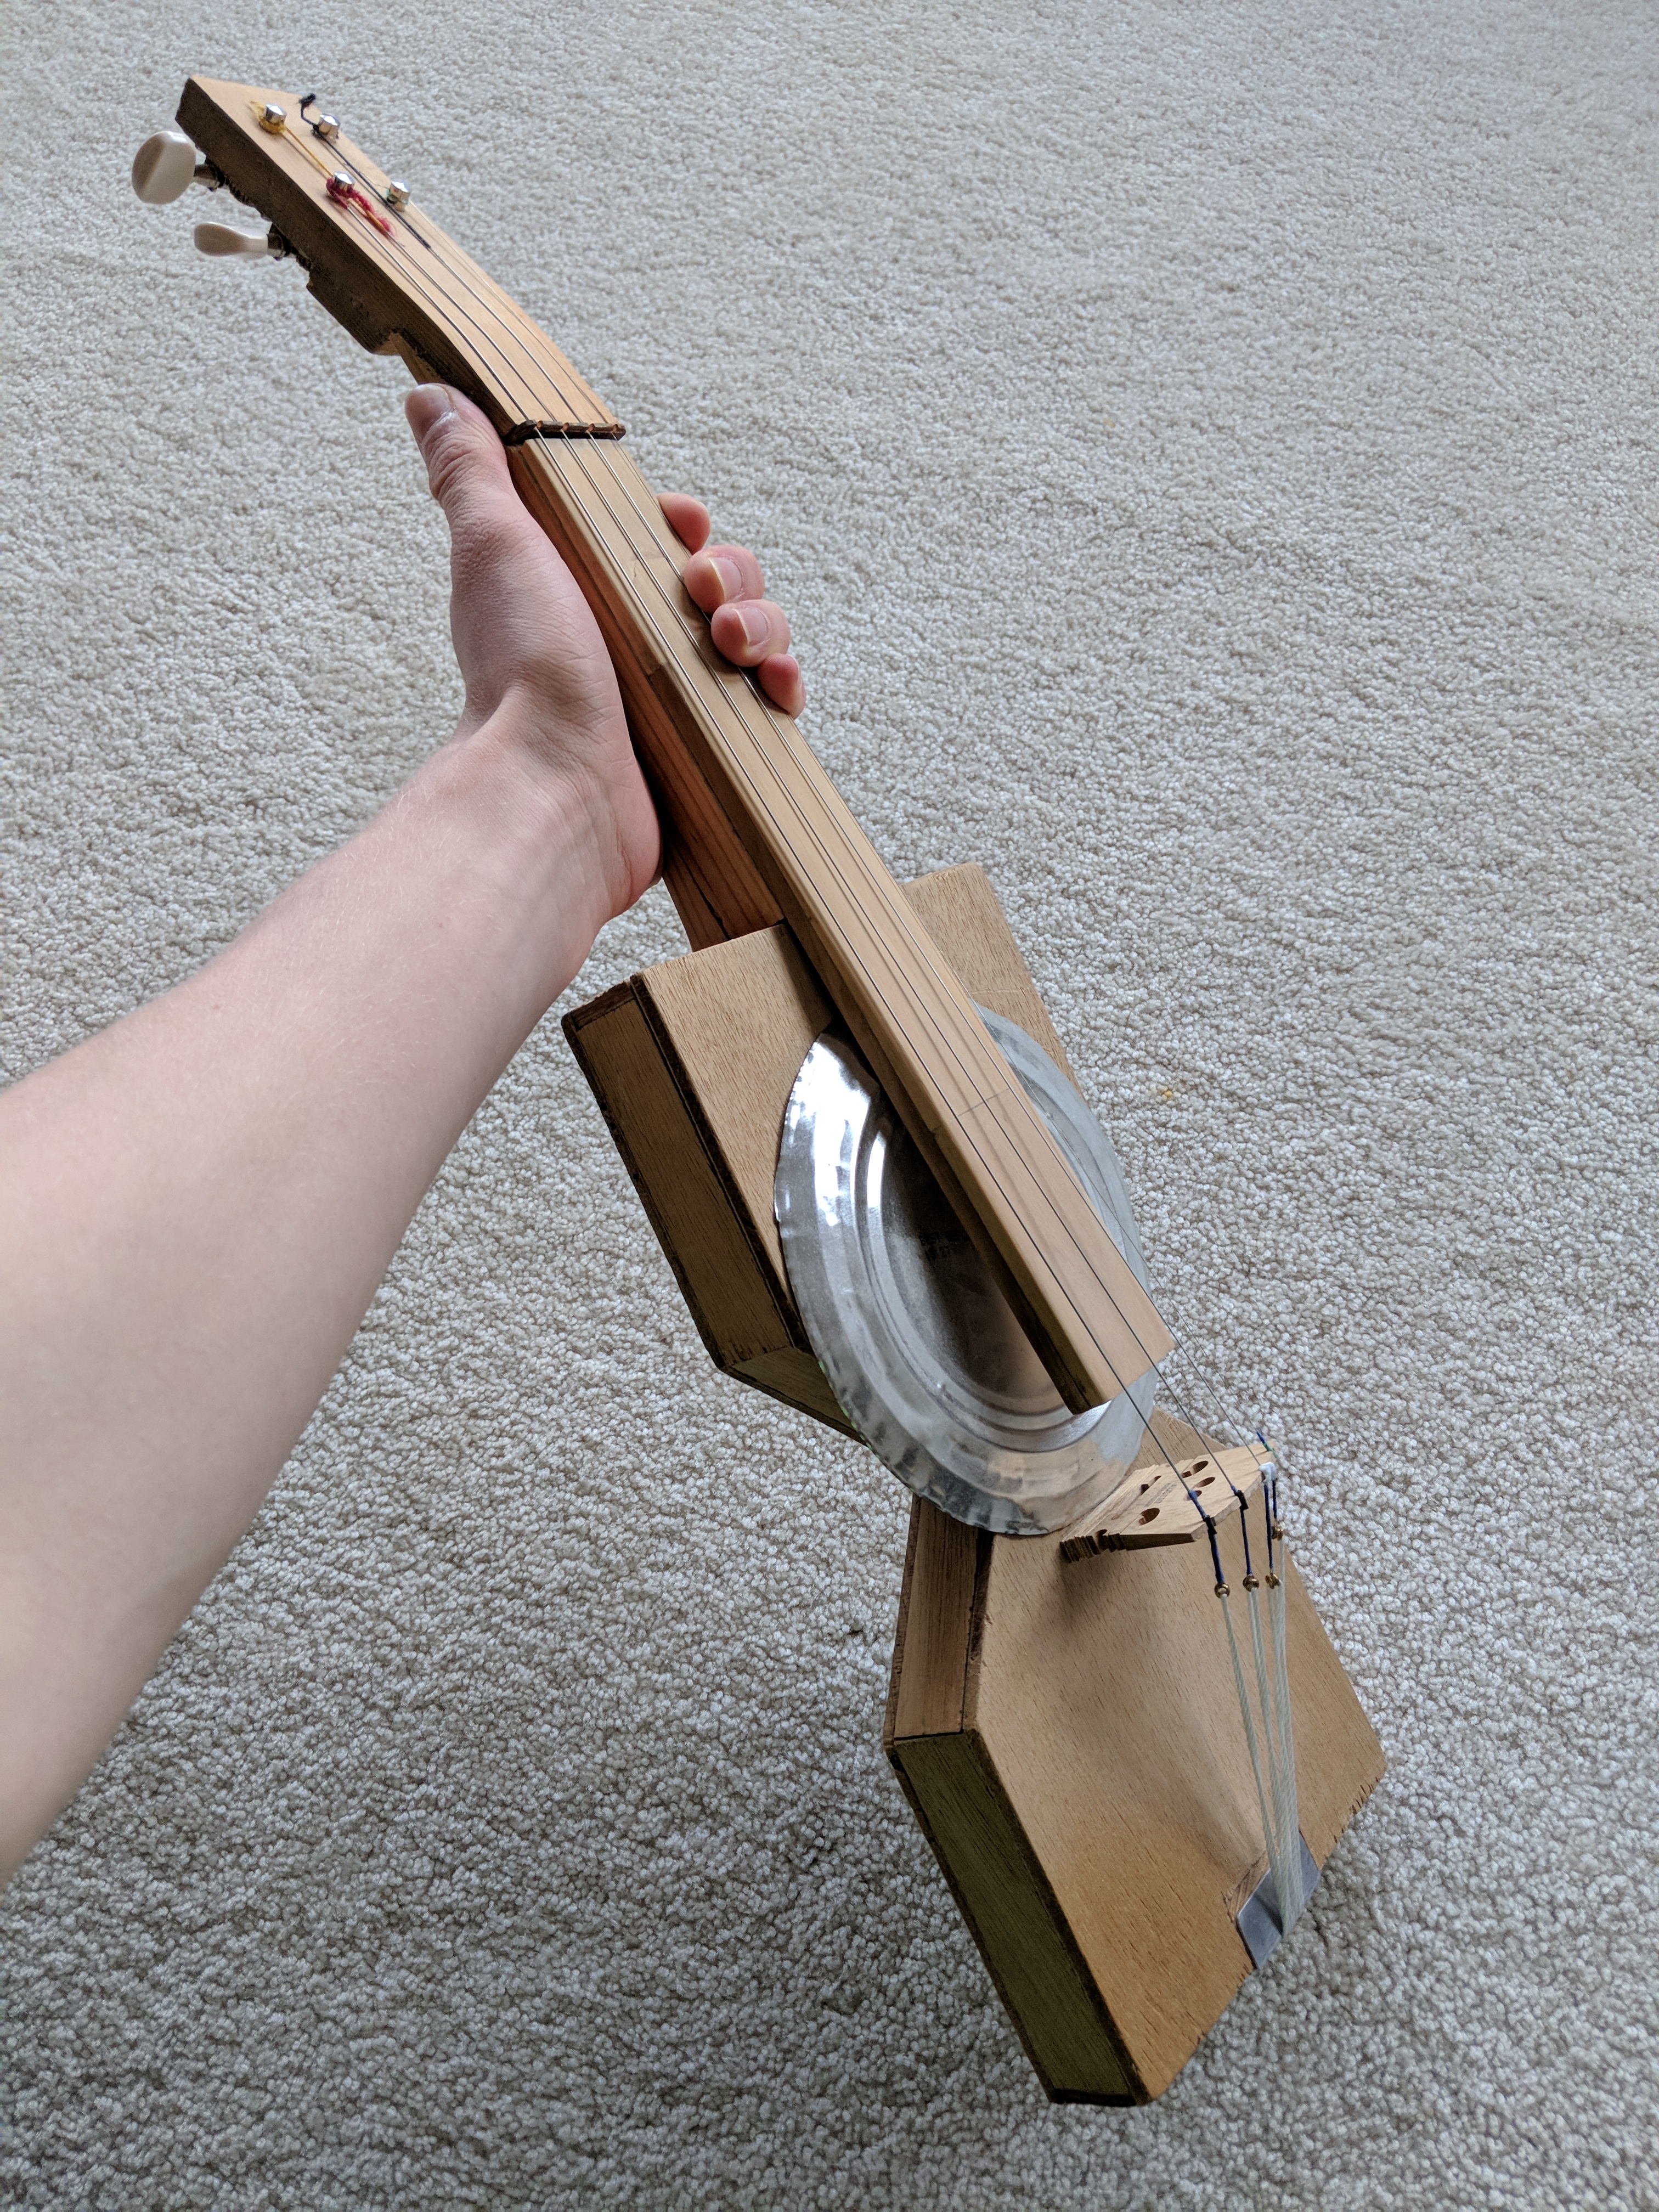
In my final year of high school, after falling down the YouTube rabbit hole of "cigar box guitar" construction, I decided to try my hand at building a musical instrument.
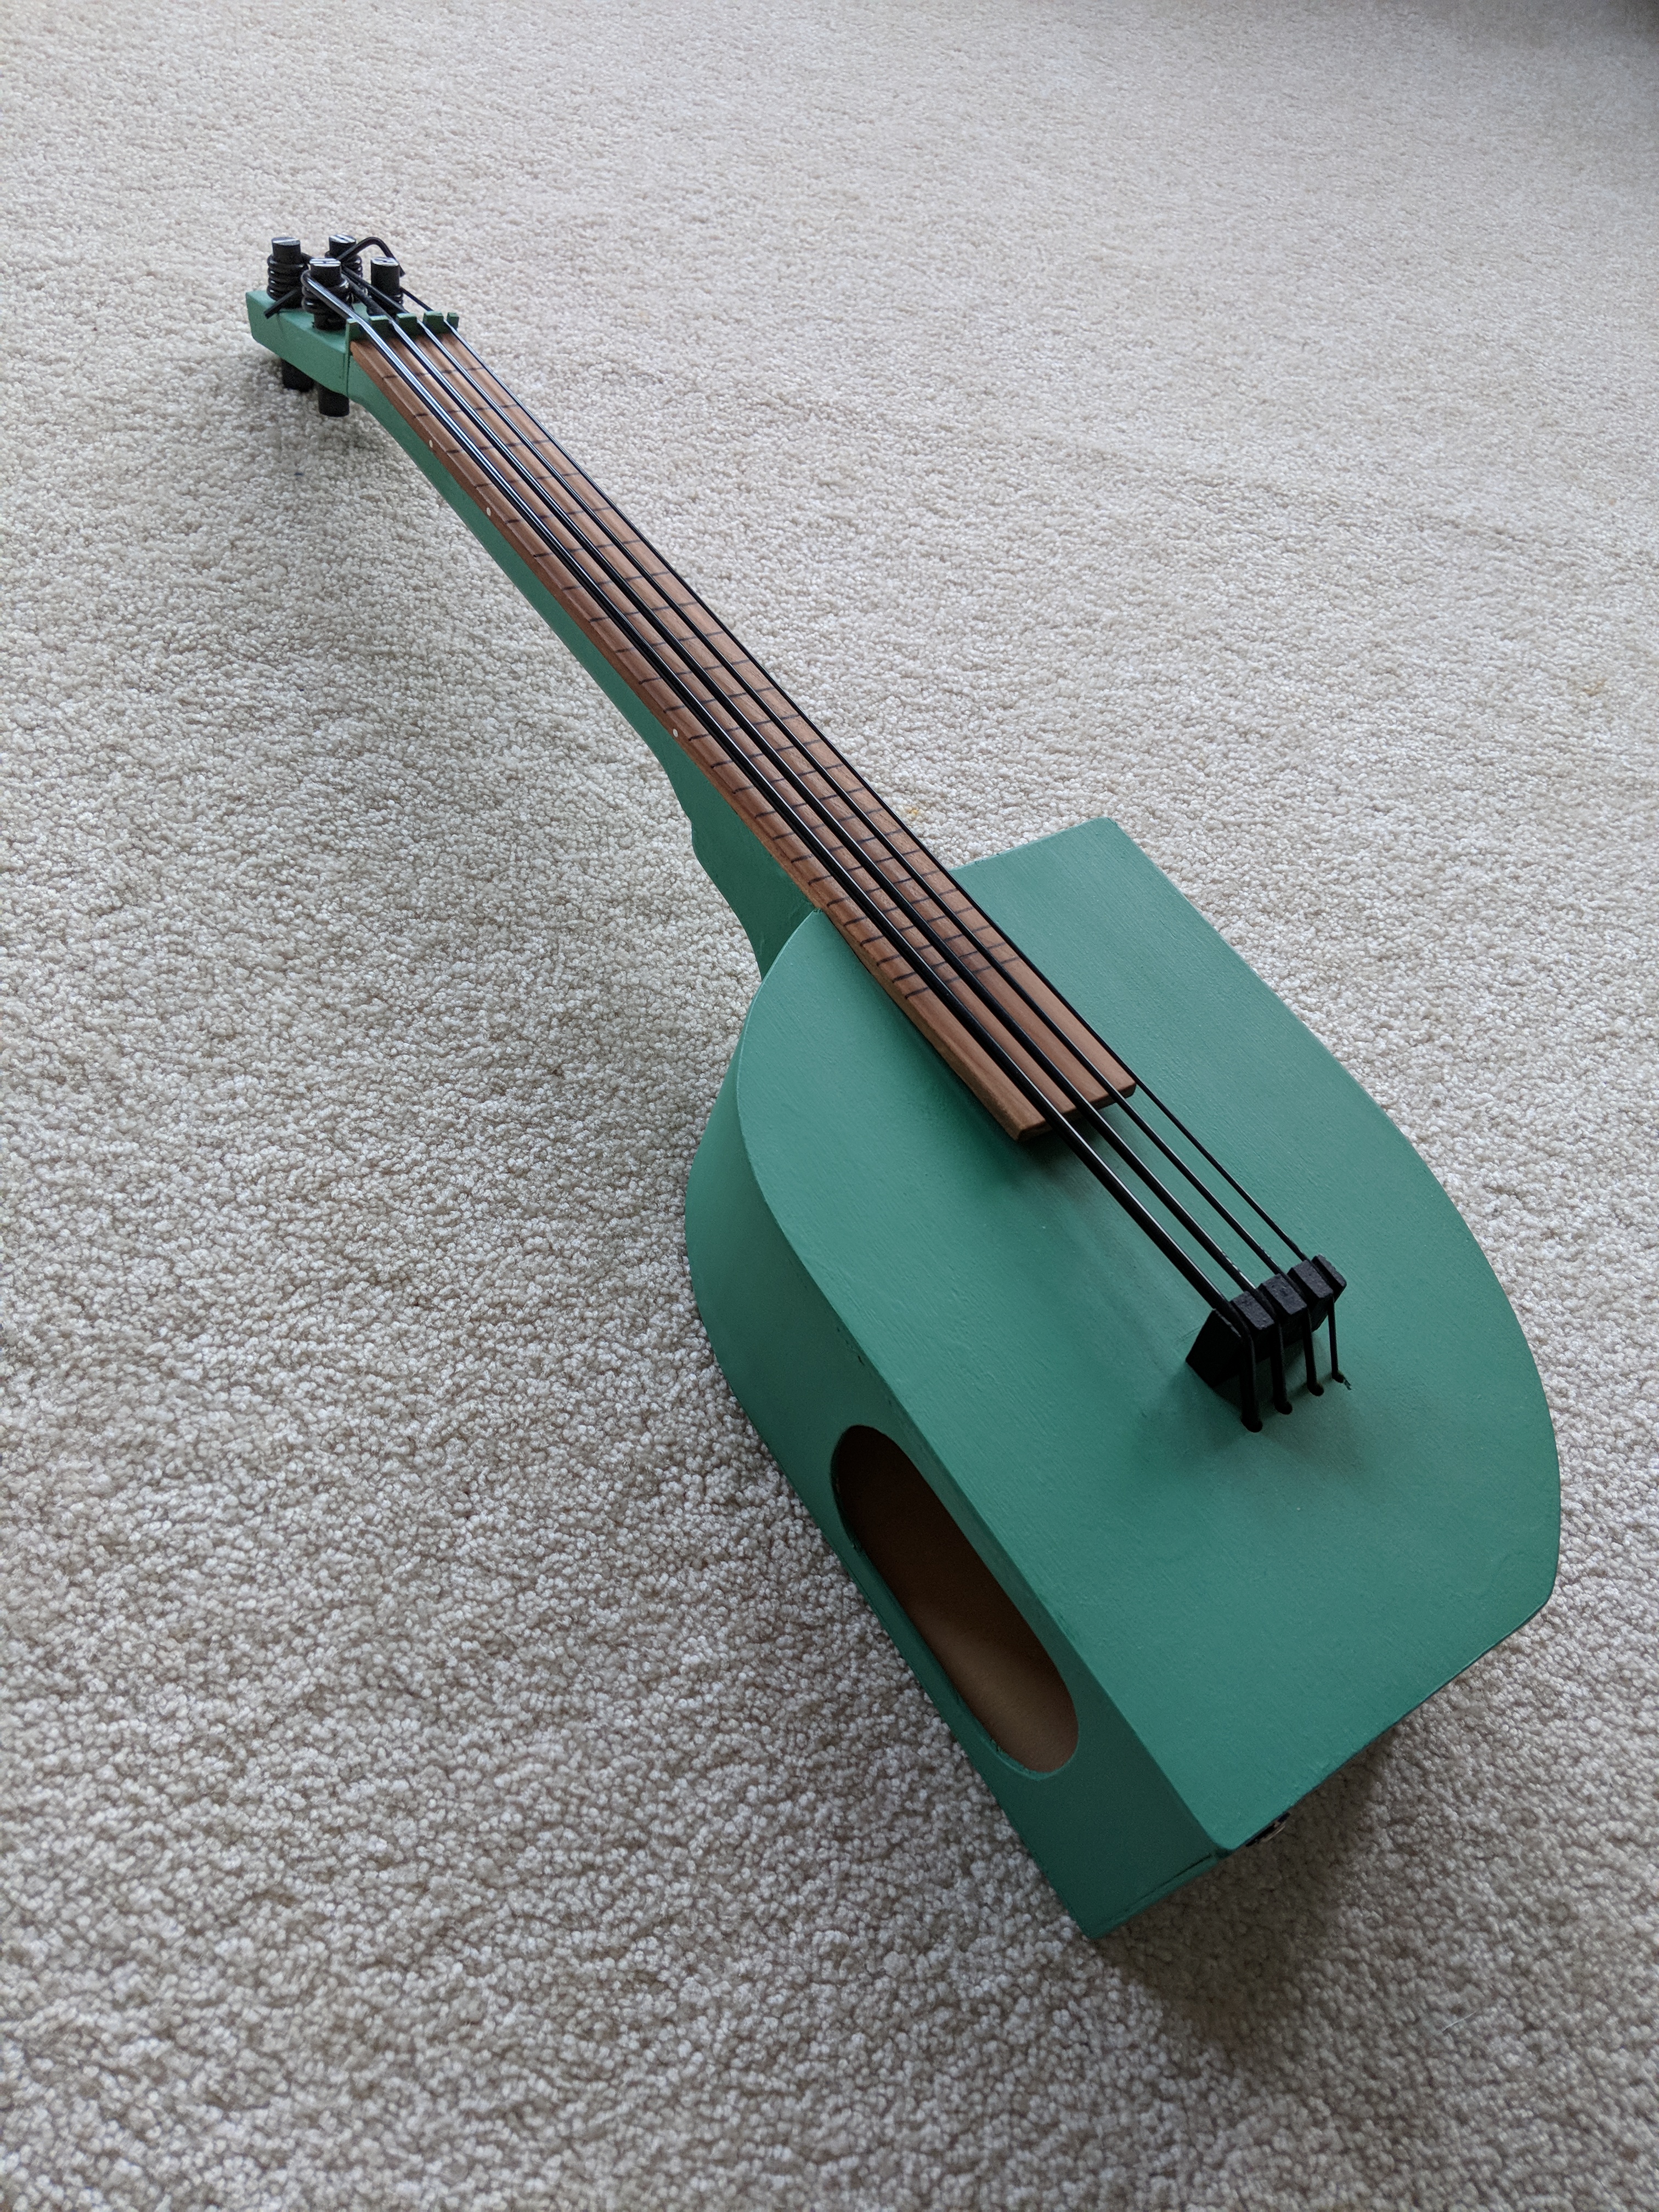
I have always enjoyed playing music; I studied both the piano and oboe. However as an engineer and nerd, I enjoy building musical instruments even more than I enjoy playing them. The first "decent" instrument I built was a simple violin made out of plywood with a softwood rib that comprised the neck and gave structure to the plywood resonating body. I refined this technique when I constructed my Ukelele bass, and also added a piezo pickup to the instrument.
When I began metalworking, I experimented with adding steel ribs as the structural element in my musical instruments. Bent plywood veneers and a steel rib are the most interesting elements of my stick dulcimer instrument. After learning about Jamaican steel drums and other similar instruments like handpans, I decided to try making a steel tongue drum from an old barbeque propane tank.
The tongue drum is a particularly interesting instrument to try and optimise because it can be designed and tuned using modal analysis in Fusion360. It would also be interesting to model the drum as a helmholtz resonator, and try to find an optimal size for the sound hole that maximises the volume of the instrument.
Back to my website